This guide teaches you how to install Temple Kodi build on any device. This build works on FireStick, Android TV, Google TV, PC, macOS, Mobiles, Raspberry Pi, and all other Kodi-compatible devices.

What Is Temple Build?
The Temple build is a Kodi skin. It will change the interface of Kodi. Unlike the default Kodi skin, the Temple skin is more colorful and intuitive. The default skin has a vertical menu bar on the left. The Temple skin repositions the bar horizontally close to the bottom of the screen.
The following two images demonstrate the difference between the default and Temple skins.
Kodi with the default skin:
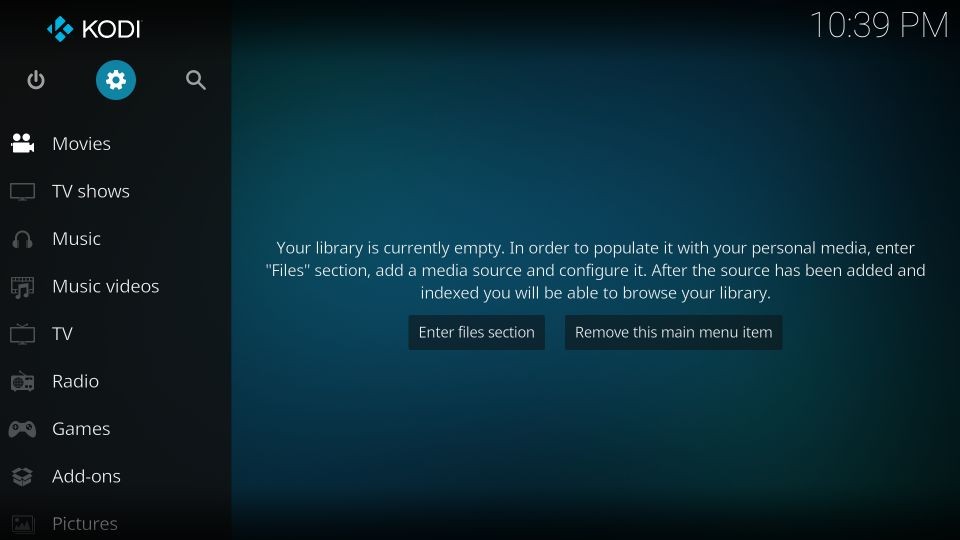
Kodi with Temple Skin:

Temple is not a complete build, especially if you compare it with other Kodi builds. It does not feature any preinstalled addons. Therefore, you must install the addons separately.
If you are looking for a build with preloaded addons, explore our list of best builds for Kodi.
Attention KODI Users: Read before you continue
Government and ISPs endlessly monitor your online activities using your IP address 35.175.39.36 (exposed to everyone). Kodi is an excellent platform for streaming movies, TV shows, and sports, but streaming copyrighted content can get you into legal trouble.
You should use a reliable Kodi VPN and protect your streaming activities and privacy. A VPN will hide your IP address and bypass government surveillance and geo-restrictions.
I trust and use ExpressVPN, the fastest and most secure Kodi VPN. It's easy to install on any Kodi device, including Amazon FireStick, PCs, and Smartphones. In addition, it offers a 30-day money-back guarantee, and 3 free months with the annual plan.
Read: How to Install & Use the best VPN for Kodi.
Is Temple Build Safe?
The Temple Build skin is available via the unofficial repository called EzzerMacs Wizard Repository. Since you download this build from an unverified external source, you want to be sure it is safe.
We aren’t any security experts. Therefore, we will not claim it is safe. However, I used this build on my device for a couple of weeks. It did not try to install any malicious software or virus.
I also scanned the repository with an online antivirus, Virus Total. Not one security vendor flagged it as malicious or suspicious. The image below shows a copy of the scan result:
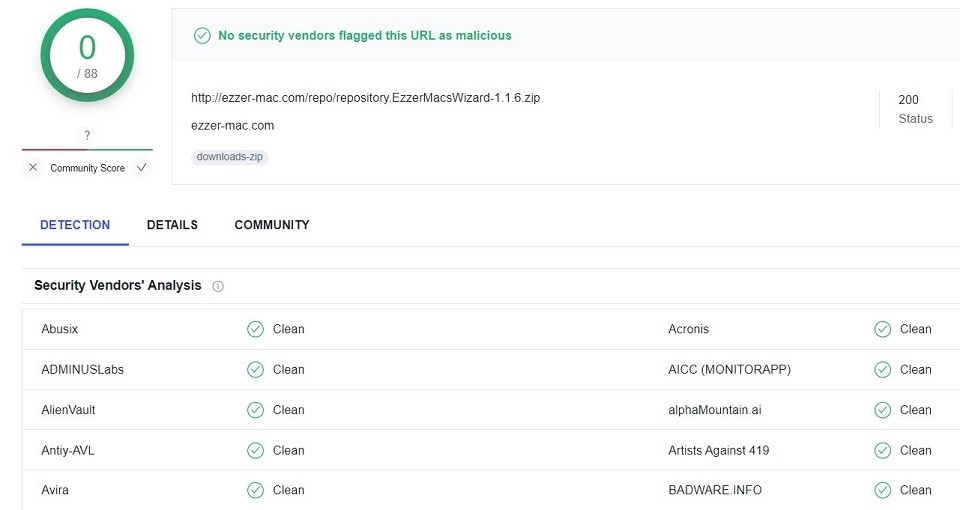
Therefore, I am assuming the build is safe.
Is It Legal?
This is a tricky question. The build in itself is definitely legal. The only thing you are doing is giving Kodi a visual makeover. There is no harm in that.
However, you can watch content on the build only after installing Kodi addons. The legality may be compromised if you use any third-party or unofficial addons. That’s because the unofficial addons will likely fetch video streams from unofficial sources.
At FireStickHow, we do not have the resources to check every video provider and determine if they have obtained the distribution licenses. Therefore, I recommend using ExpressVPN with Kodi and hiding your streaming data from anyone who might be watching.
How to Install Temple Kodi Build
The installation of a Kodi build includes a bunch of extra steps compared to the installation of an addon. To ensure the process isn’t confusing, I have broken it into smaller parts. Here is how it will go:
- Part 1: Allowing or Enabling Installation of the Temple Kodi build.
- Part 2: Adding the Repository Source URL.
- Part 3: Installation of the EzzerMacs Wizard Repository and EzzerMan’s Wizard.
- Part 4: Installation of the Temple Build.
I will give a brief overview of each part so that you have the proper perspective.
Part 1: Enable Installation of the Build
The security setting of Kodi will not allow you to install an unofficial build. However, you can change this setting and enable installation of any build, including the Temple build. Follow the steps below:
1. Go to the Kodi Settings. To do that, click the gear icon on the home screen. You will find it in the upper-left corner.

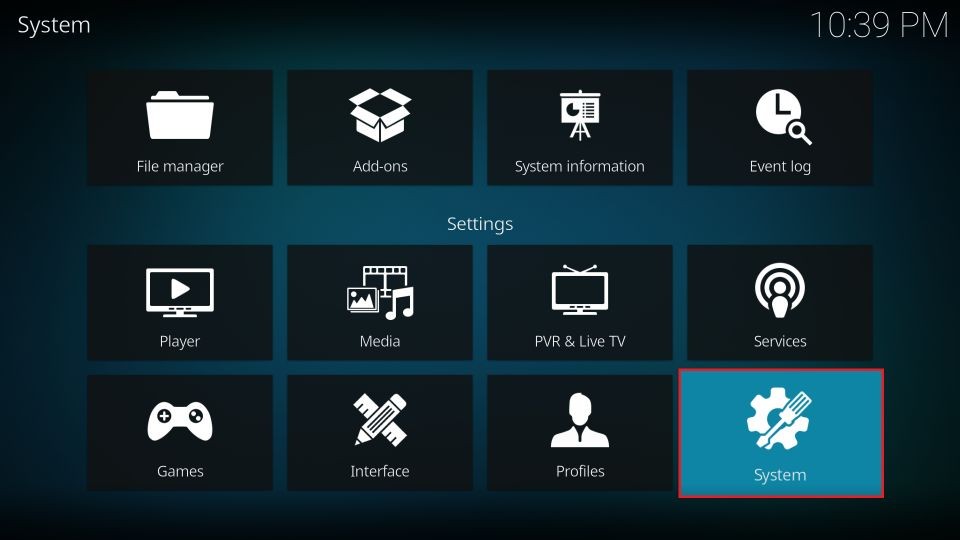
2. Now, open the option System on the following window.
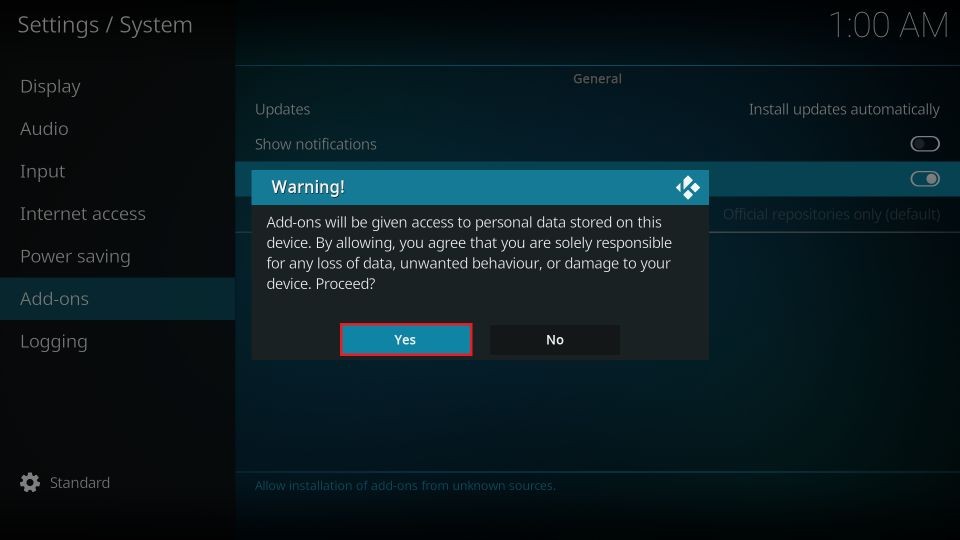
3. Click or select Add-ons in the menu bar on the left. The right part shows the option Unknown Sources. If it is disabled, move the switch and enable it.
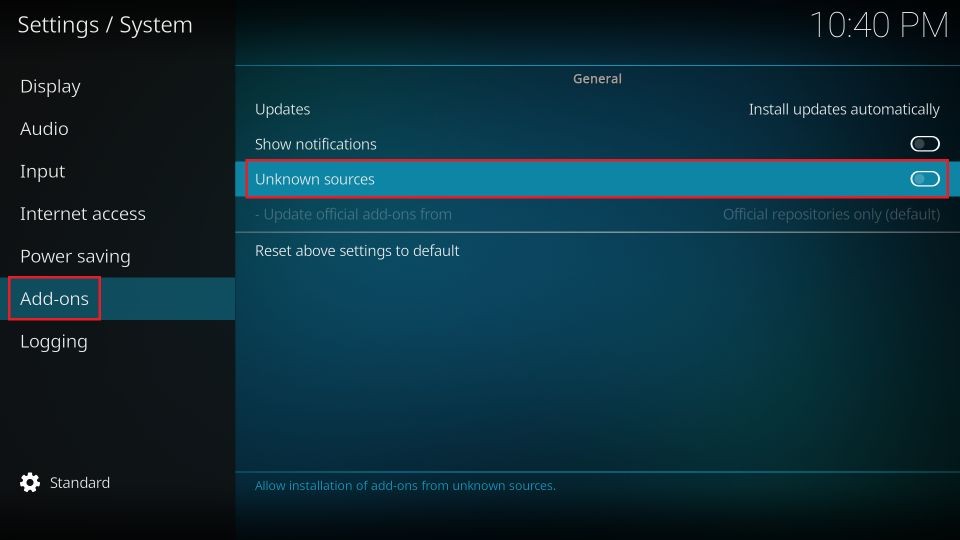
4. Please click Yes to save the changes.
That’s it! You can install any build you like.
Part 2: Add the Repository Source
To install any build or addon, you need to install its repository. Since Temple Kodi build is a third-party build, you must provide the external source URL. Here is how it is done:
1. Open Kodi Settings one more time.

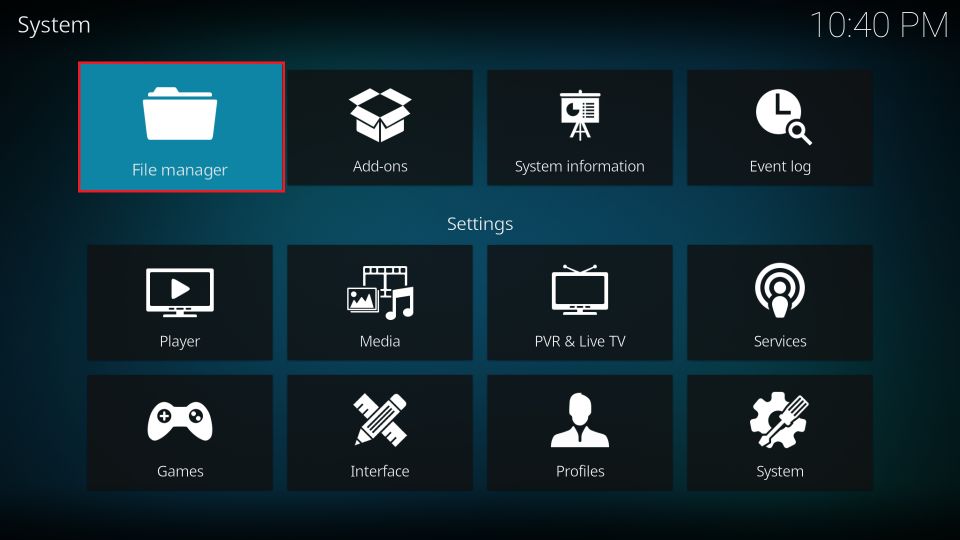
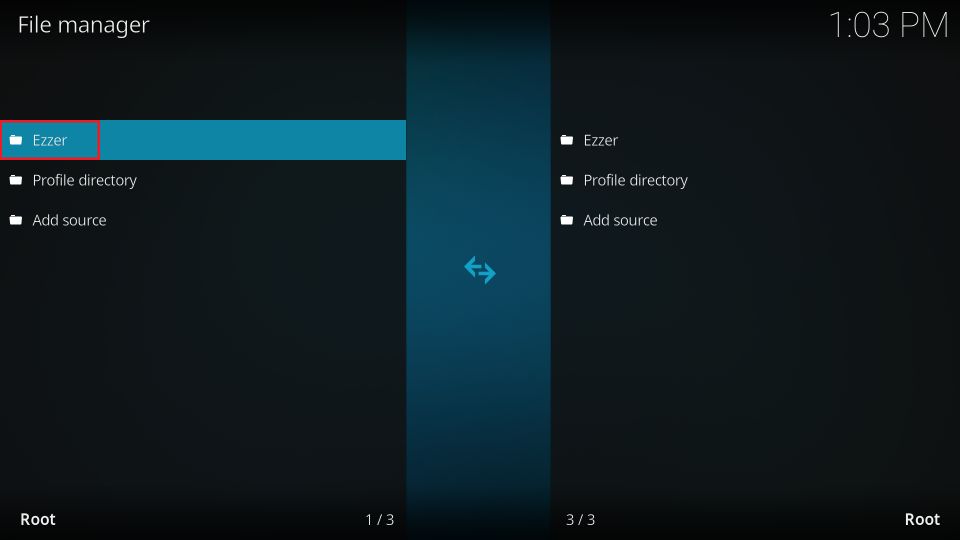
2. Click the option File manager.
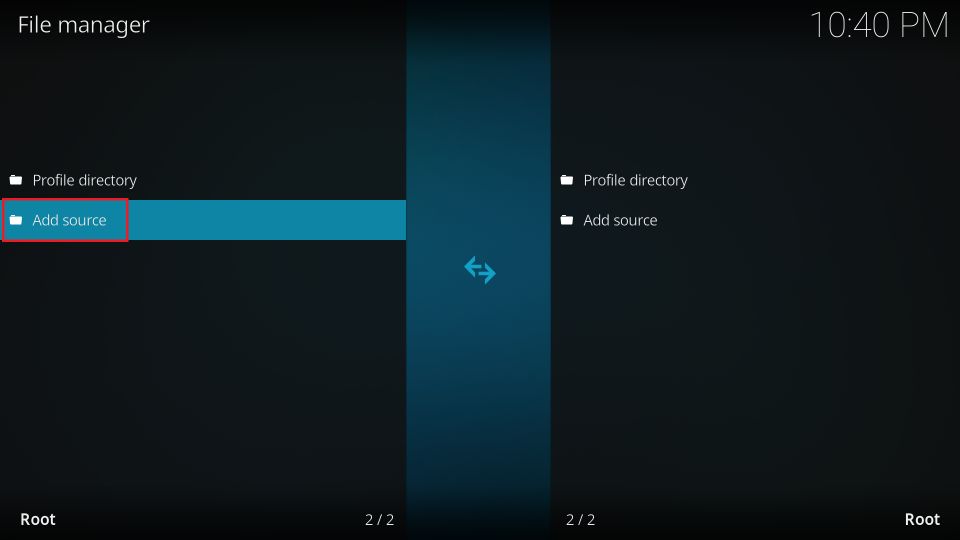
3. Next, click the option Add source (you may do it on the left or right).
4. The following popup should appear on your screen. Click <None>.
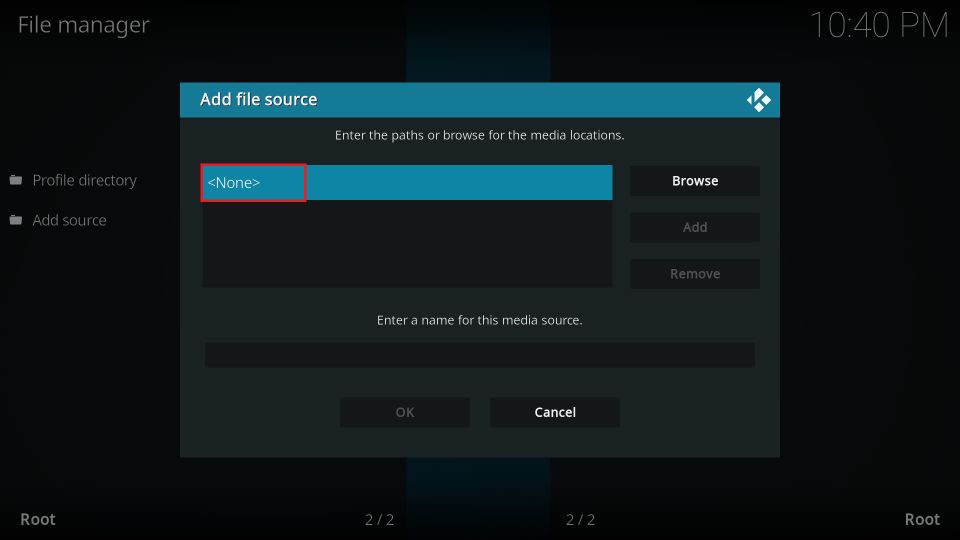
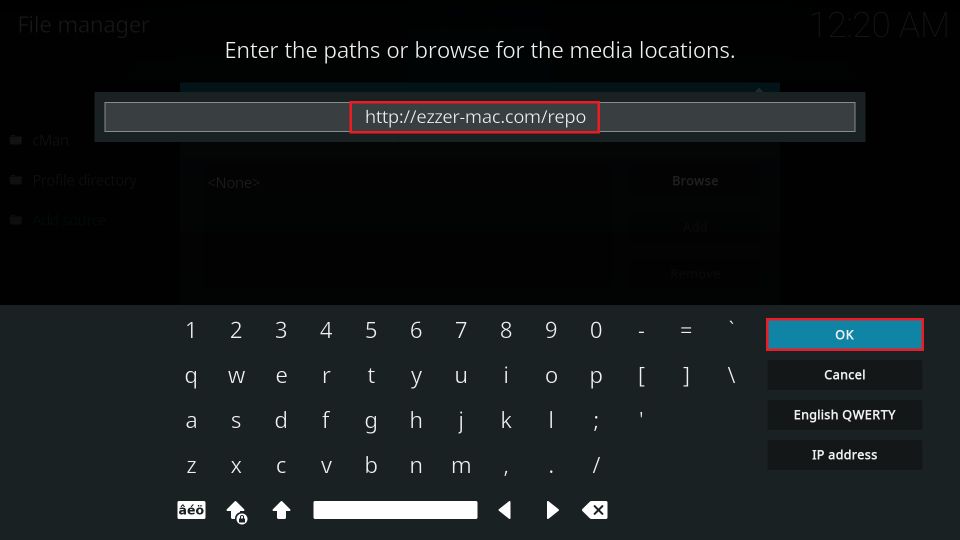
5. You may now type in the source URL of the repository http://ezzer-mac.com/repo/
Type the URL carefully and recheck it before clicking OK.
Note: This URL belongs to a third-party developer of builds and addons. FireStickHow is not associated with the developer.
6. Click the input box where it says repo. Let’s change the media source name.
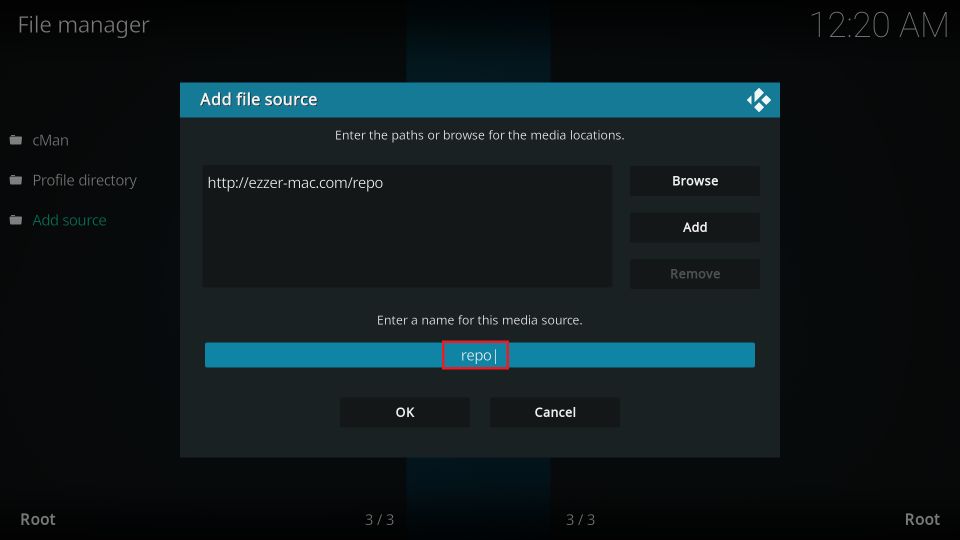
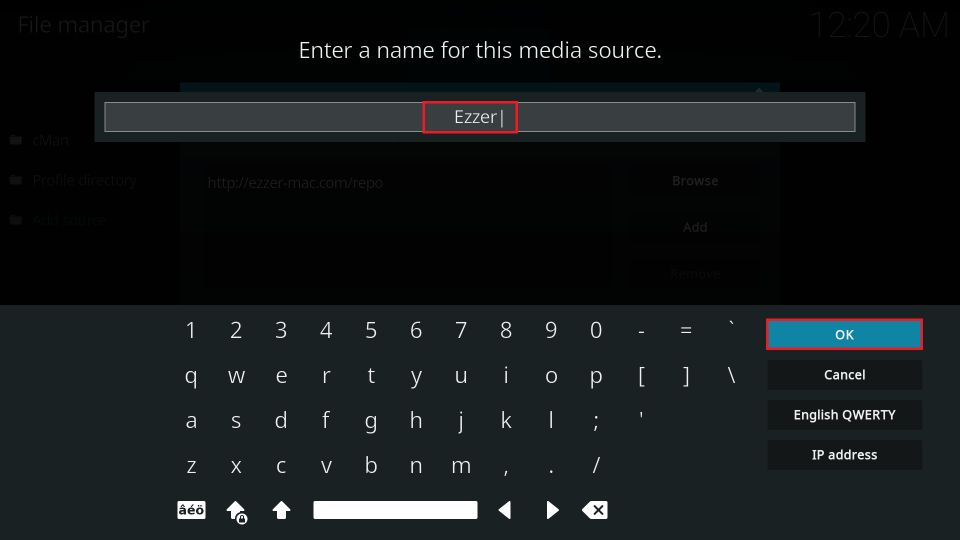
7. Clear the existing name and type a more relevant name, such as Ezzer. Click OK.
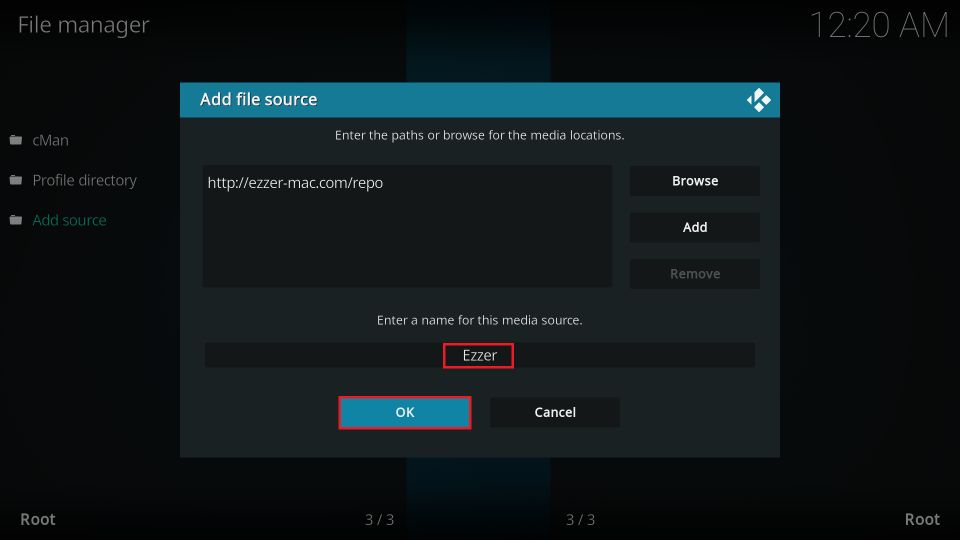
8. This window displays the source name you just typed. If everything looks correct, click OK.
9. If you have followed the steps correctly, you should see the source name on this screen.
Wonderful! You have successfully added the name of the source.
Part 3: Install EzzerMacs Wizard Repository and the EzzerMan’s 19 Wizard
You have added the repository source. You will now install the repository. After installing the repository, you will install the Wizard, which hosts the Temple Kodi build. Let’s get started:
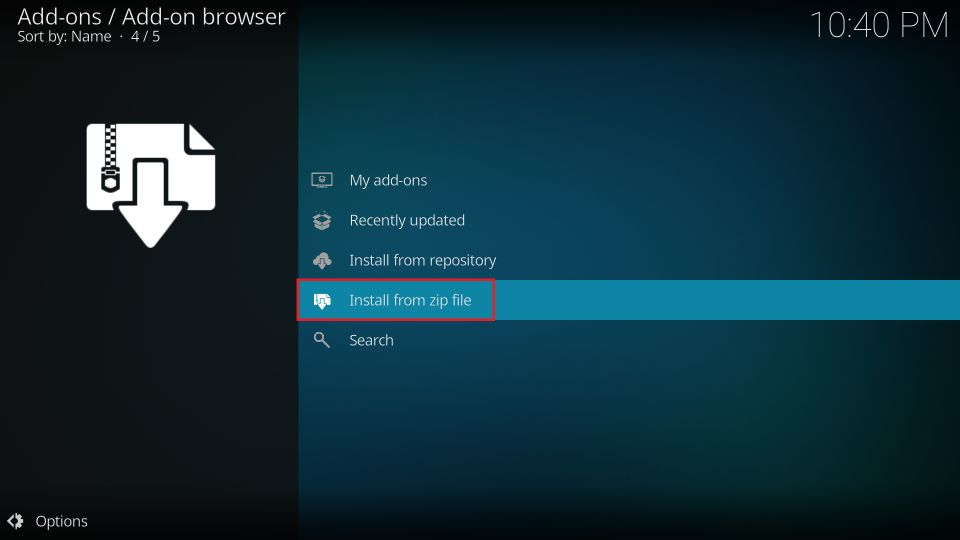
1. Open the Kodi Settings window one more time and choose the option Add-ons.

2. Click Install from zip file.
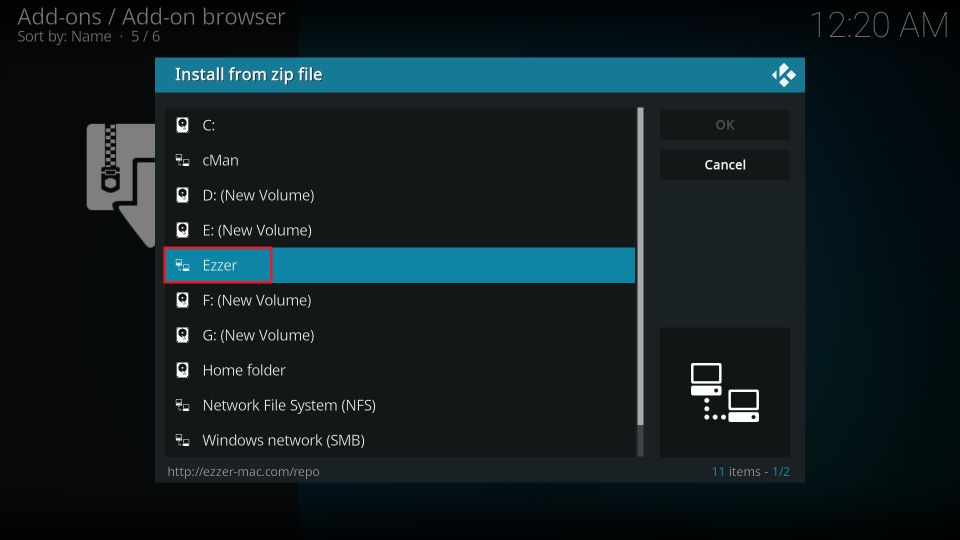
3. You will find the source you added in the previous section (Ezzer in our case). Go ahead and click it.
4. Click the repository installation file repository.EzerMacsWizard. The file version may be different on your screen if the repository has been updated.
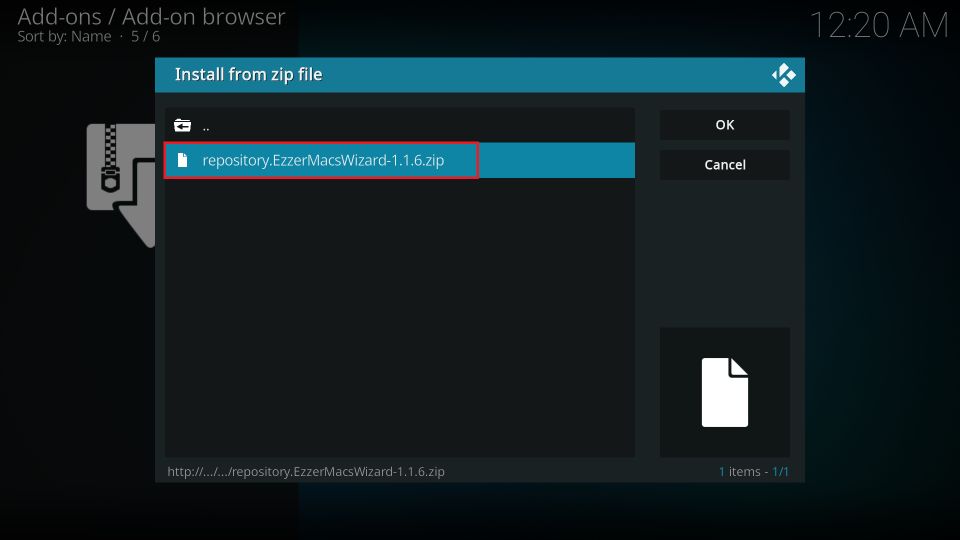
5. Kodi will download and install the EzzerMacs Wizard Repository within a few seconds. The notification is displayed in the top-right corner.
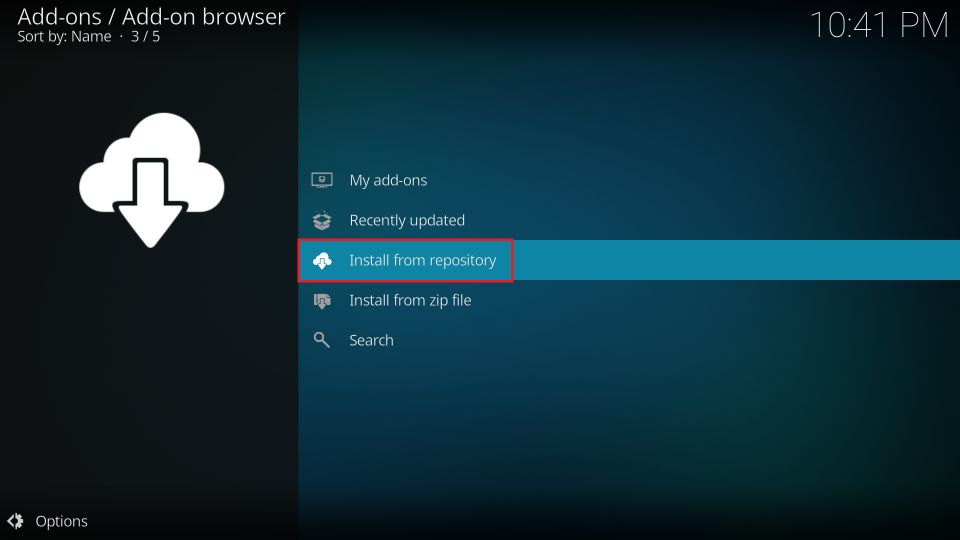
6. Now, on the same window, click Install from repository.
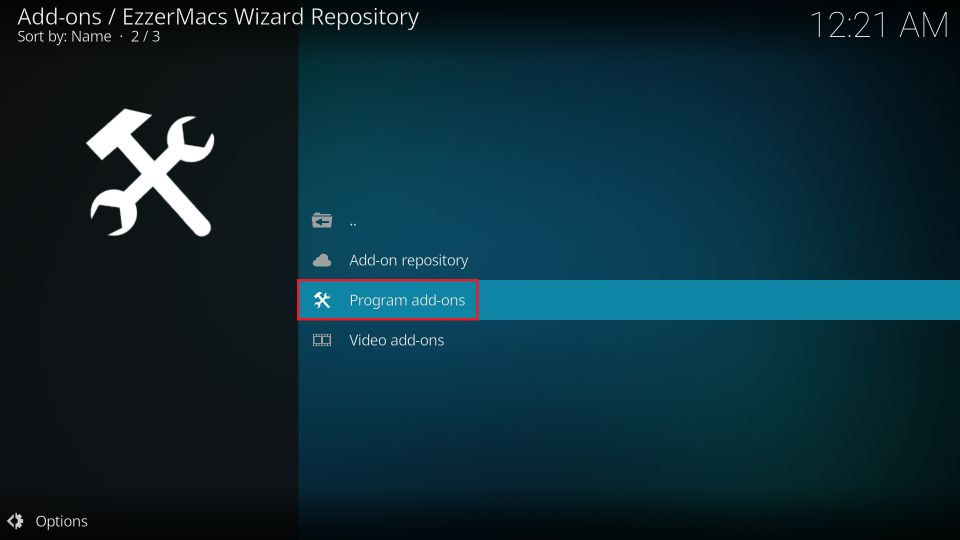
7. Click the folder EzzerMacs Wizard Repository.

8. Open Program add-ons on the following window.
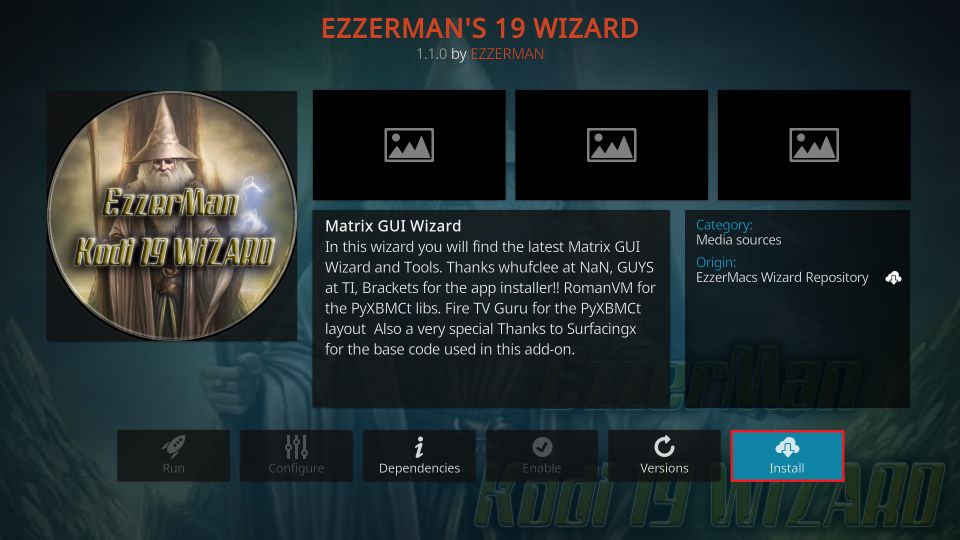
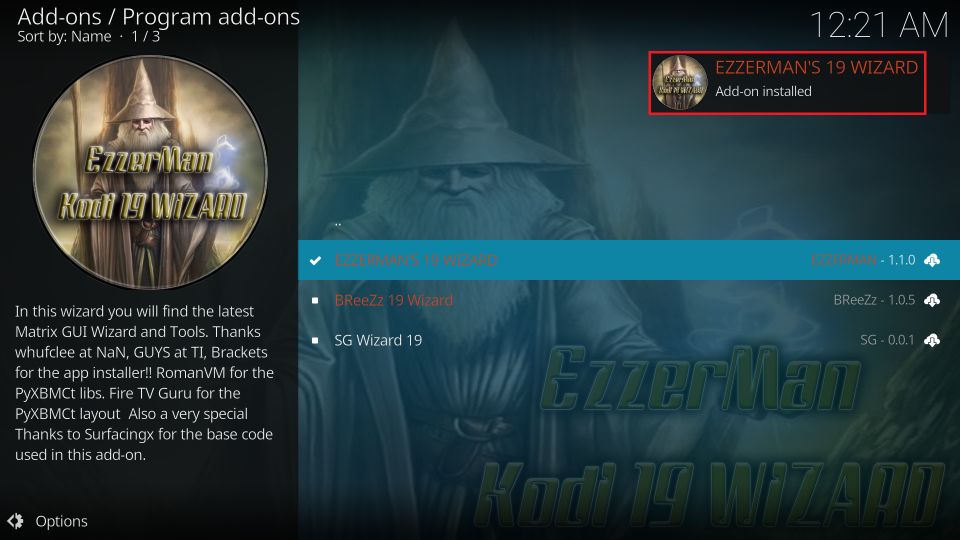
9. Click the option EzzerMan’s 19 Wizard on this screen.

10. Click the Install button in the bottom-right part of the next window.
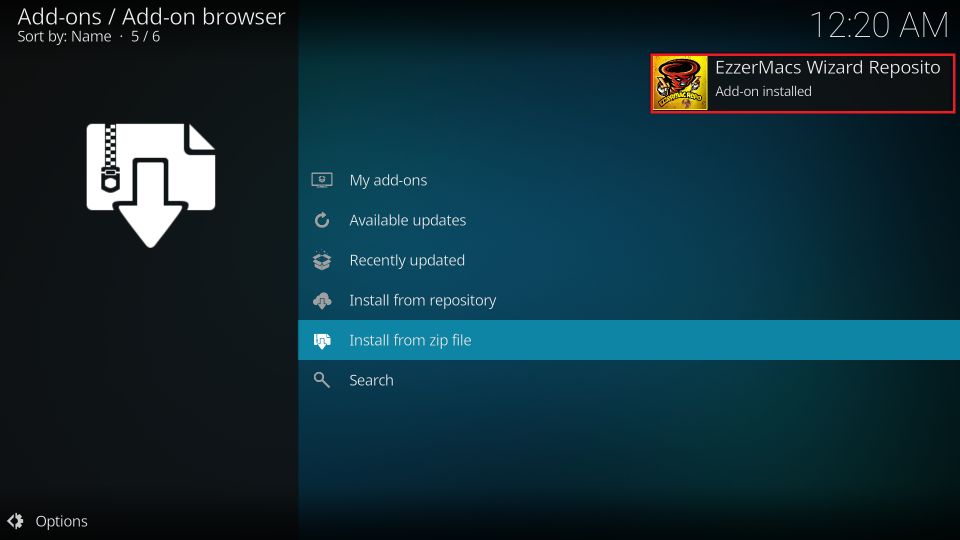
11. Your screen will display the installation progress. It may take a few seconds. Then, again, a notification appears in the top-right part confirming the successful installation of the Wizard.
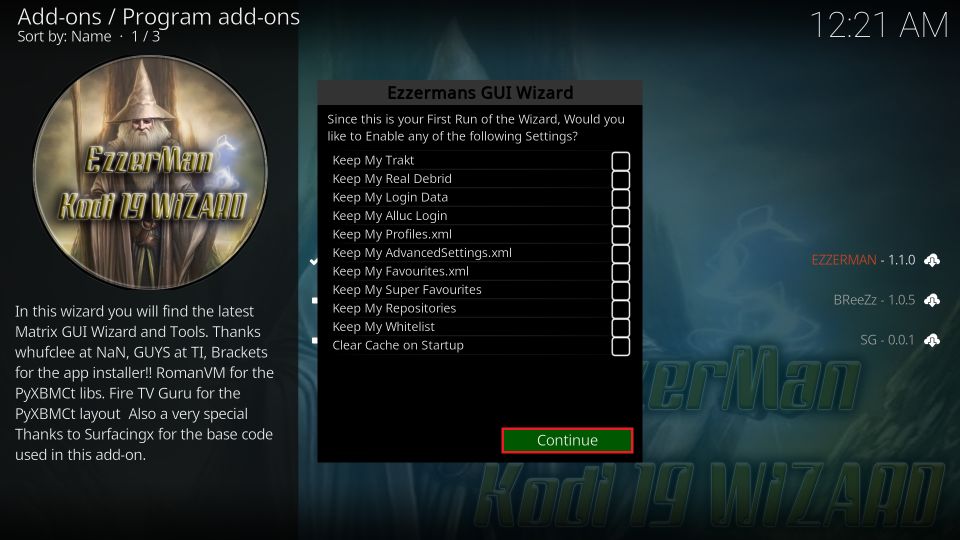
12. The following image shows the popup after the Wizard’s installation. Dismiss this popup by pressing the back button.
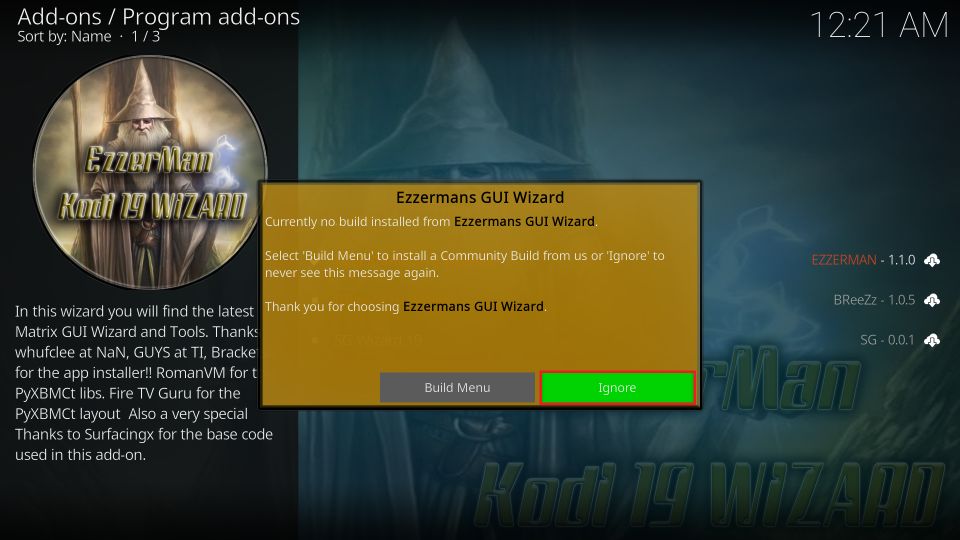
13. We are not going to the build menu right now. We will do it in the next part. Therefore, click Ignore.
You have successfully installed the EzzerMac repository and the Wizard.
Part 4: Steps to Install Temple Build on Kodi
Follow the steps below:
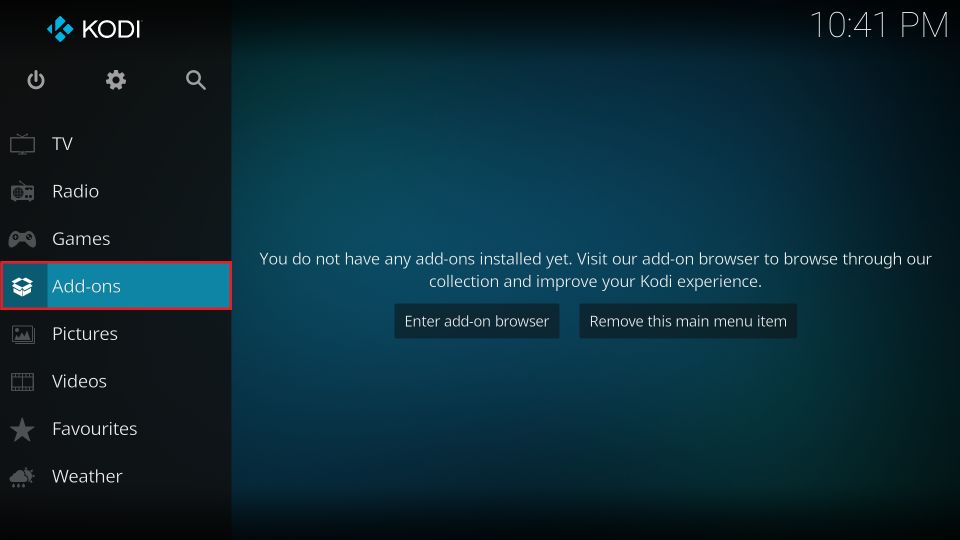
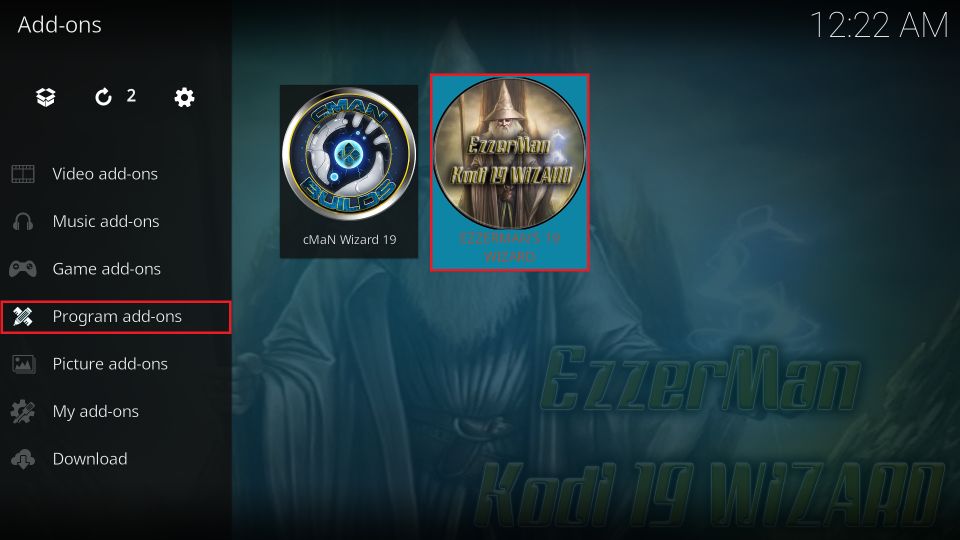
1. Go back to the home screen of Kodi. Click Add-ons in the left sidebar.
2. Select the option Program add-ons in the left sidebar on the next screen (but do not click it). Jump to the right and click the EzzerMan’s 19 Wizard tile.
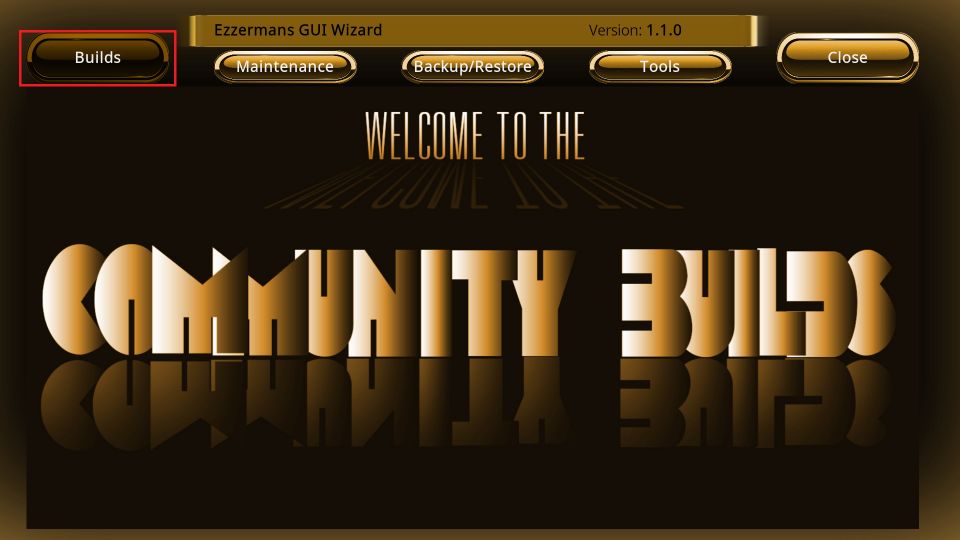
3. The Wizard interface appears. Click Builds in the top-left corner.
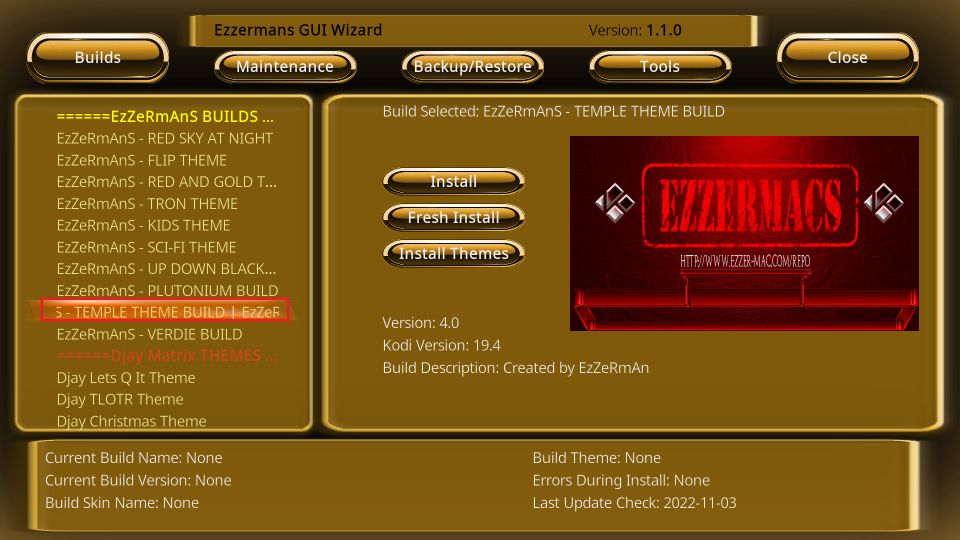
4. The left block displays the list of EzzerMan’s builds. Select the Temple Theme Build.
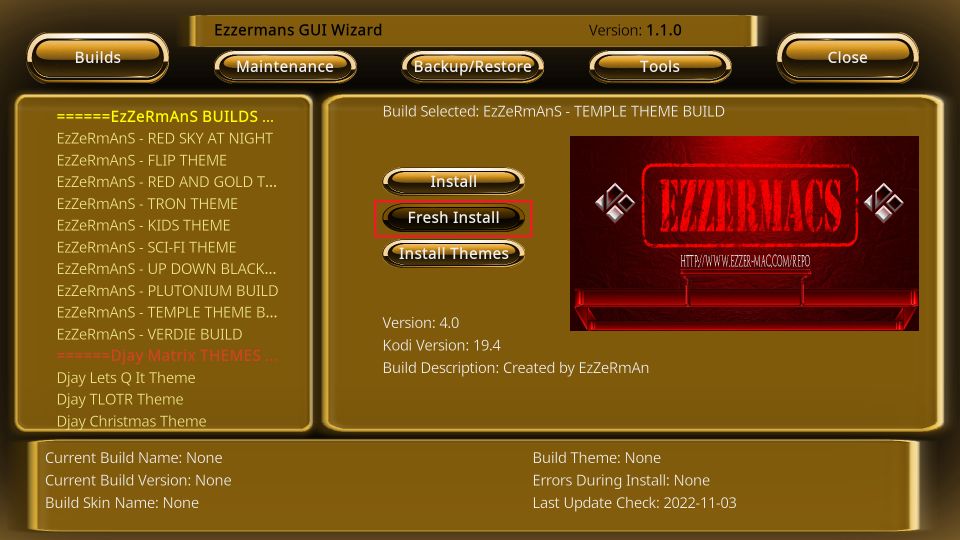
5. Click Fresh Install in the right block (which also shows the build preview). I am choosing Fresh Install so that Kodi installs the build from scratch. You will lose existing Kodi data, but the build will likely function better after a reset.
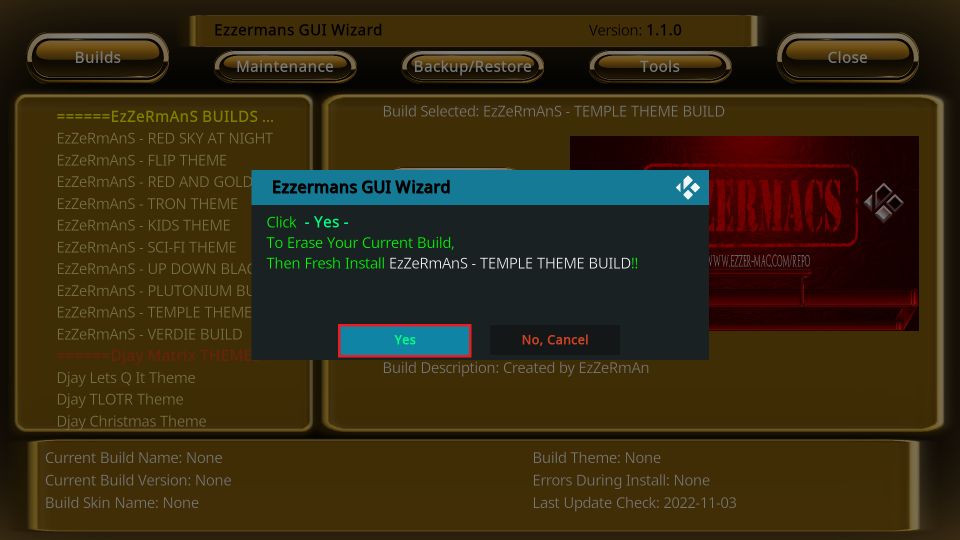
6. Click Yes to continue.
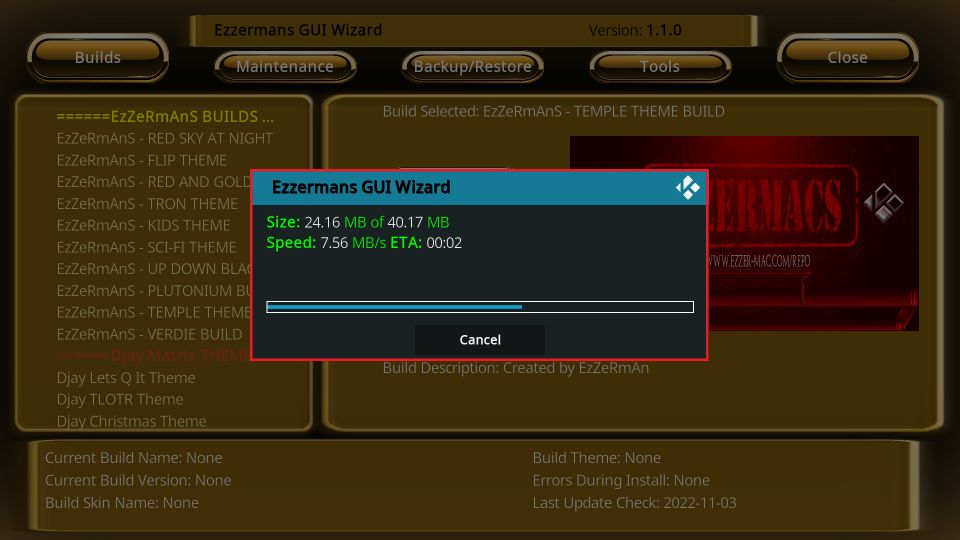
7. The Wizard will now download all the files required to install the Temple Wizard. It will take about a minute. You can see the download progress.
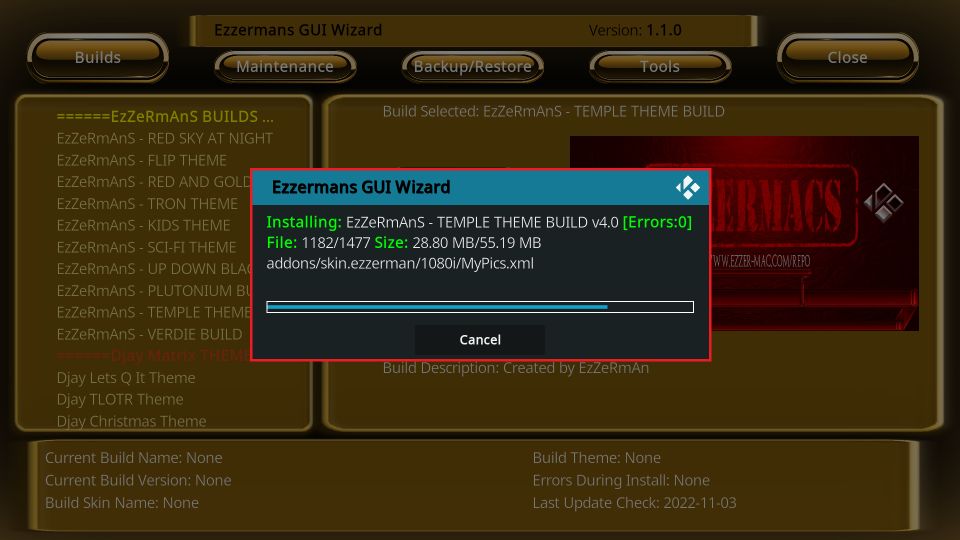
8. Next, Kodi will install the Temple build. This takes a few seconds.
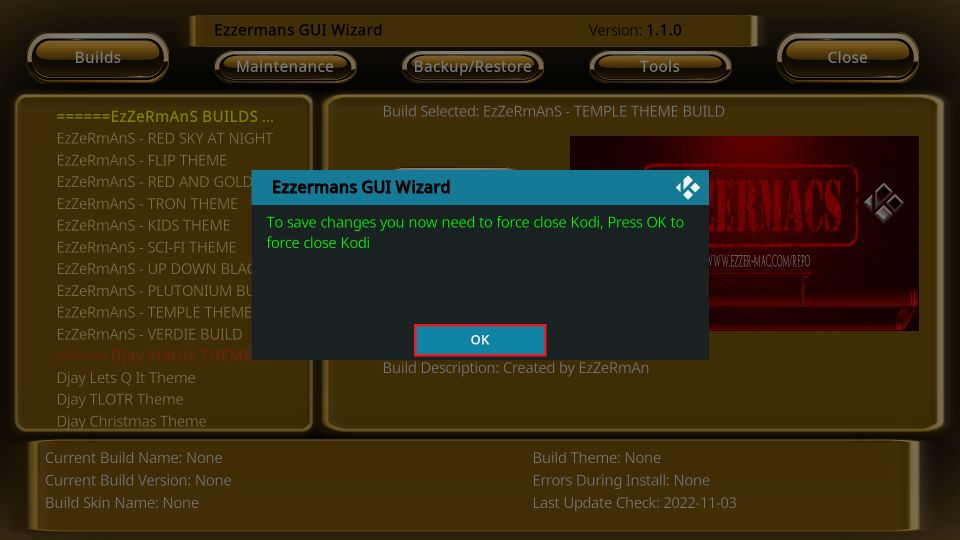
9. You may now click OK to force close the Kodi app and save the changes.
That’s it! You have successfully installed the Temple Kodi Build.
Wait! It looks like you are all set to start watching your favorite content on Kodi. But have you protected your online identity yet? You are under constant surveillance by the Government and ISP. They use your IP address 35.175.39.36 to track you. Streaming free or copyrighted videos may get you into legal trouble.
Thankfully, you can use a VPN to easily protect your privacy and go invisible from your Government and ISP. I use and recommend ExpressVPN with Kodi.
ExpressVPN is the fastest, most secure, and streaming-friendly VPN. It is easy to install and set up on any Kodi device, including FireStick, Smartphones, PCs, and more.
ExpressVPN, offers an unconditional 30-day money-back guarantee. So, if you do not like the service (I don't see why), you can get a full refund within 30 days.
Please remember that we encourage you to use a VPN to maintain your privacy. However, we do not condone breaking copyright laws.
Before you start using Kodi for streaming, here is how you can protect yourself with ExpressVPN:
Step 1: Sign up for ExpressVPN Here
Step 2: Download ExpressVPN on your device by clicking HERE
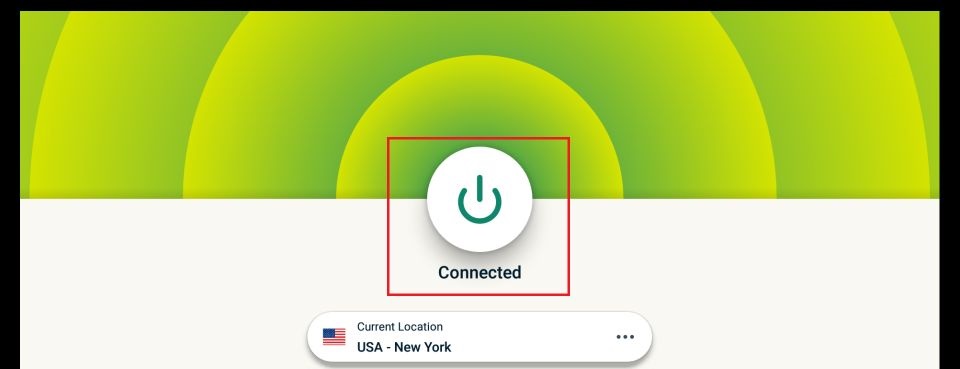
Step 3: Open the ExpressVPN app on your device. Sign in with your account. Click the connect/power button to connect to the VPN
Great! You have successfully secured yourself with the best Kodi VPN.
How to Use the Temple Kodi Build
As I already said, Temple isn’t a complete build. It is a Kodi skin that changes the interface of the default Kodi. However, it does not offer any preloaded Kodi addons.
Thankfully, you can easily install addons on this build. I will show you how a bit later in the guide.
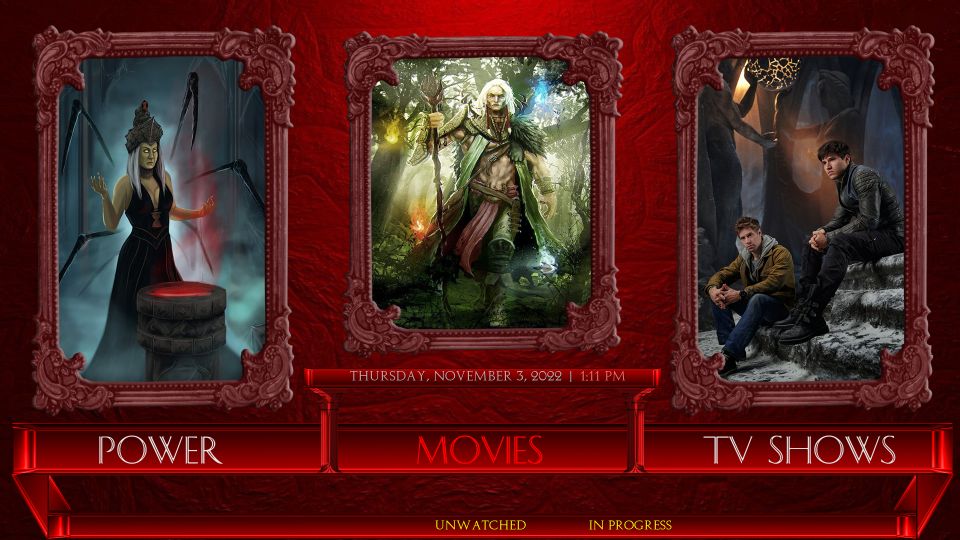
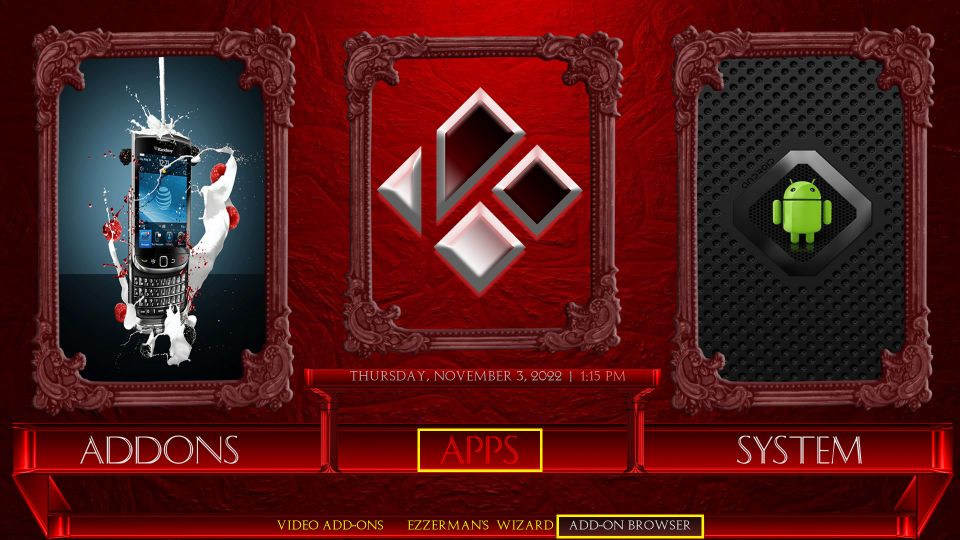
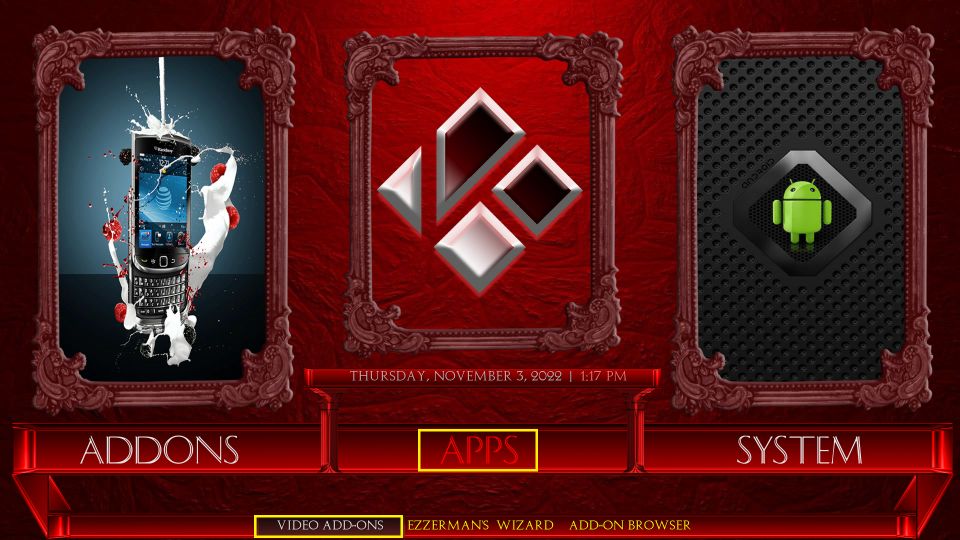
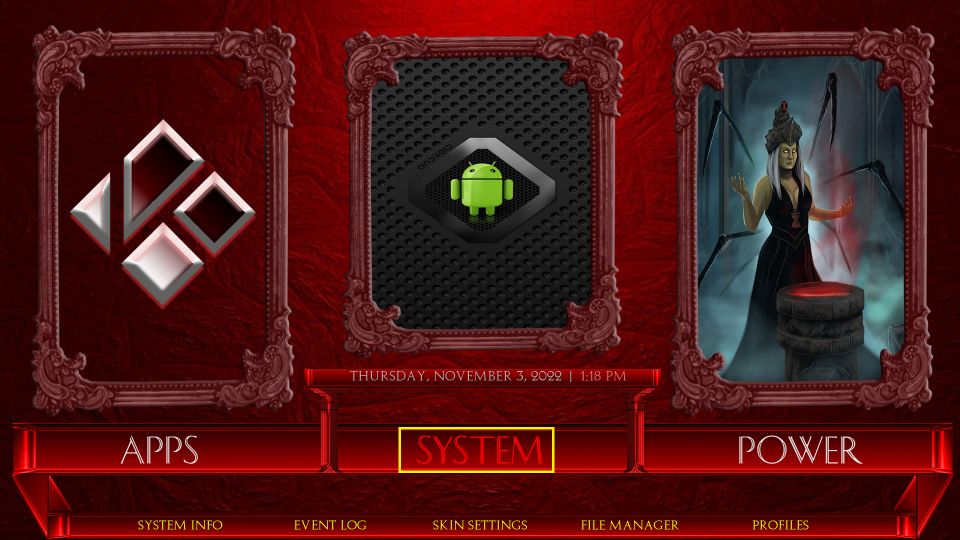
The following image shows the home screen of the Temple Kodi build. You will find the main menu bar at the bottom with options like Movies, TV Shows, Power, Apps, Addons, System, etc.
Every option in the main menu comes with its submenu items. For instance, the Movies option has Unwatched and IN Progress submenu items.
Let me show you how to install an addon so that you may start using the build. I am using The Crew addon for demonstration. For more addons, explore our list of best addons for Kodi. Here are the steps:
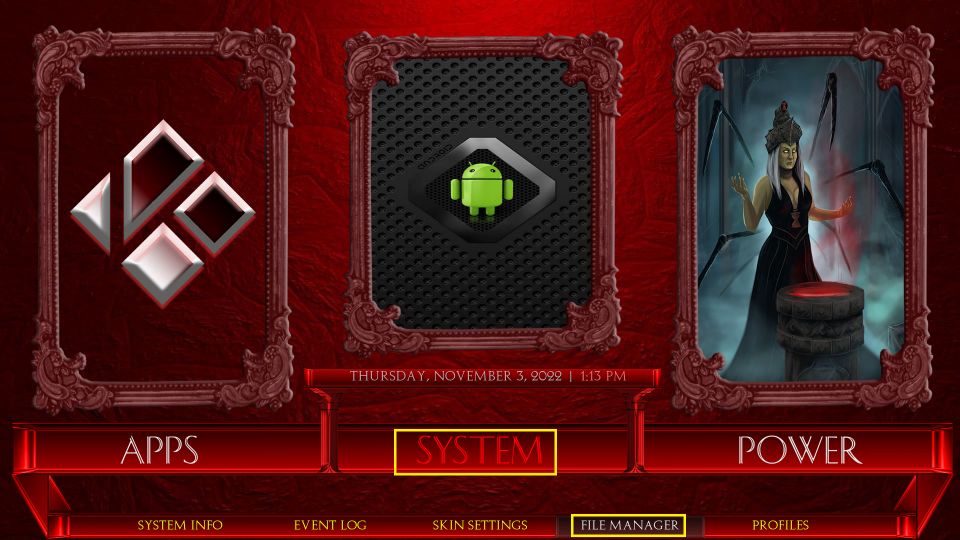
1. On the home screen of the build, go to System > File Manager.
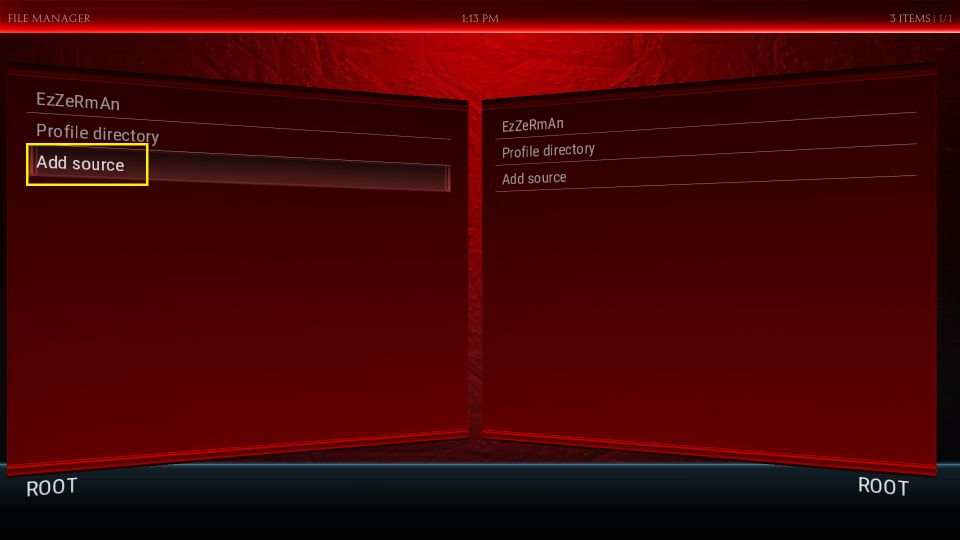
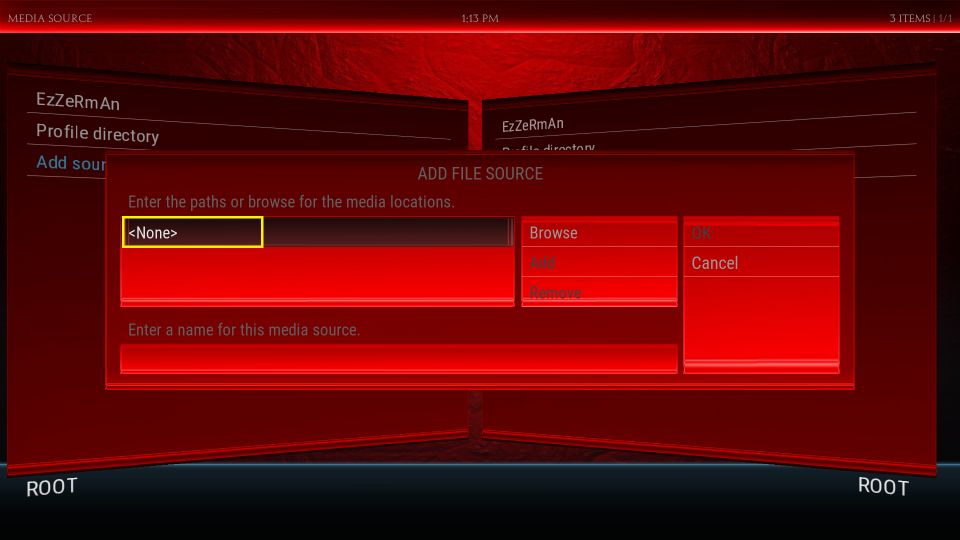
2. Click Add source on the following window.
3. Click <None>.
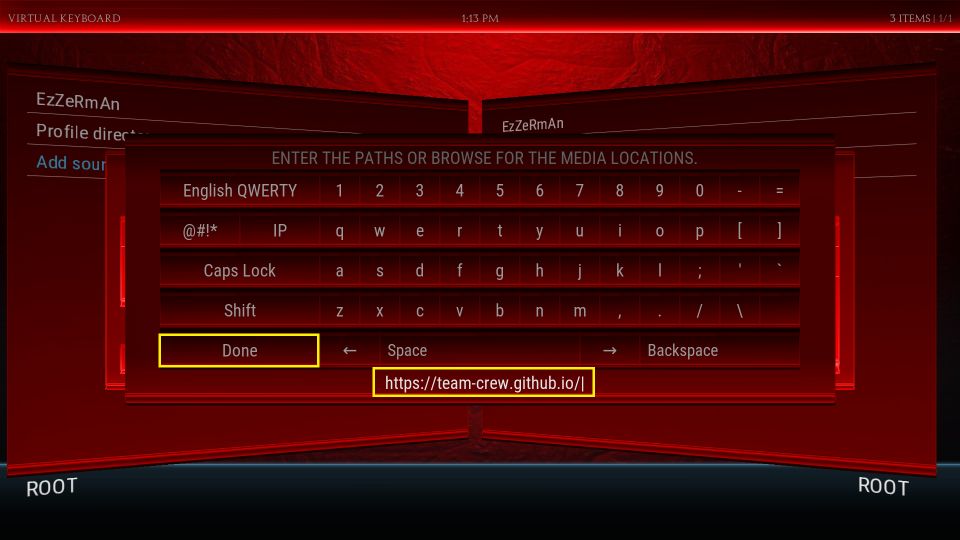
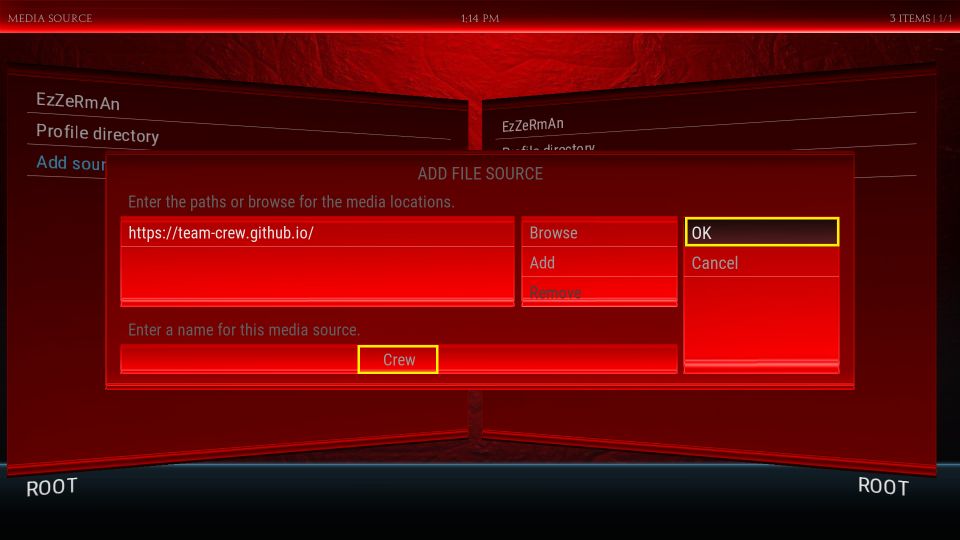
4. Type the repo URL https://team-crew.github.io and click DONE.
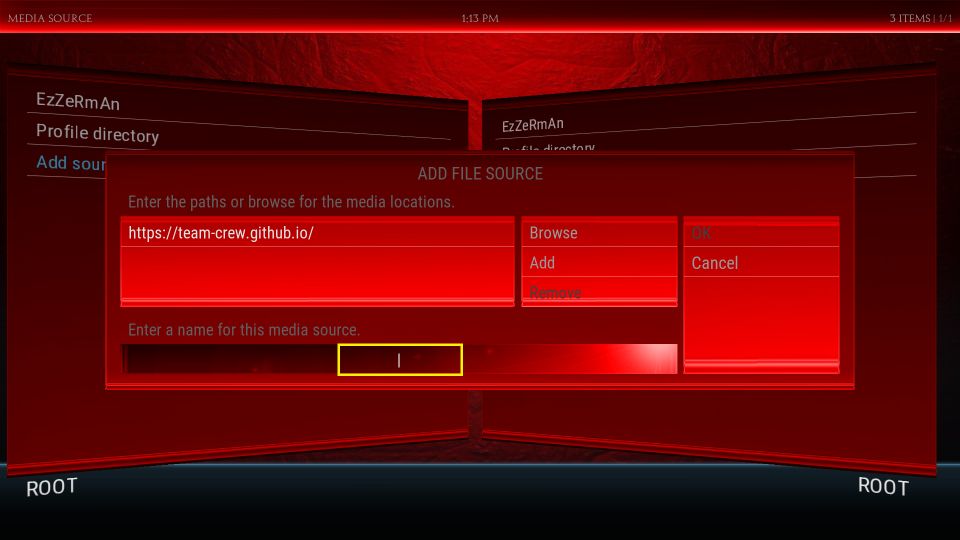
5. Click the empty source name input box, as highlighted in the image below.
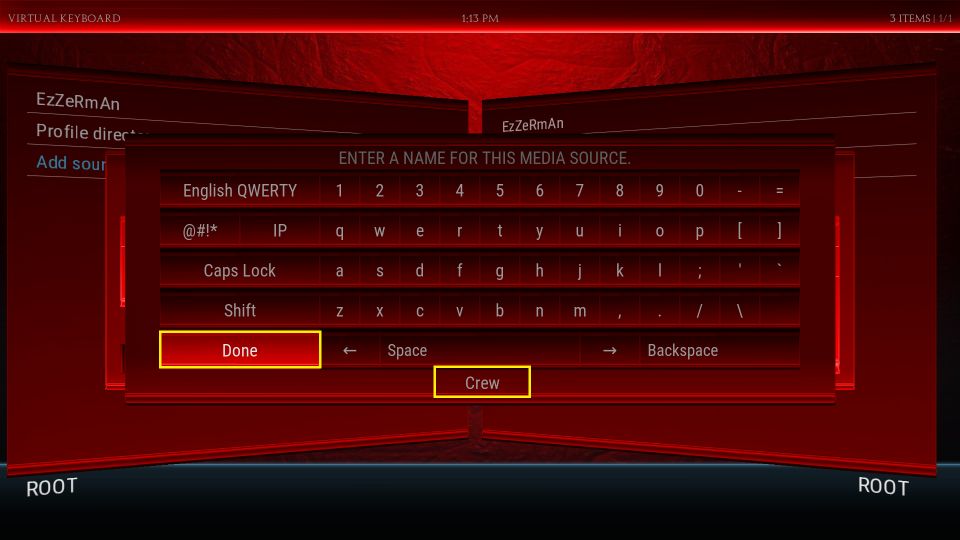
6. Type Crew or any other custom name you want and click DONE.
7. The source name Crew displays when you return to this window. Click OK and save the changes.
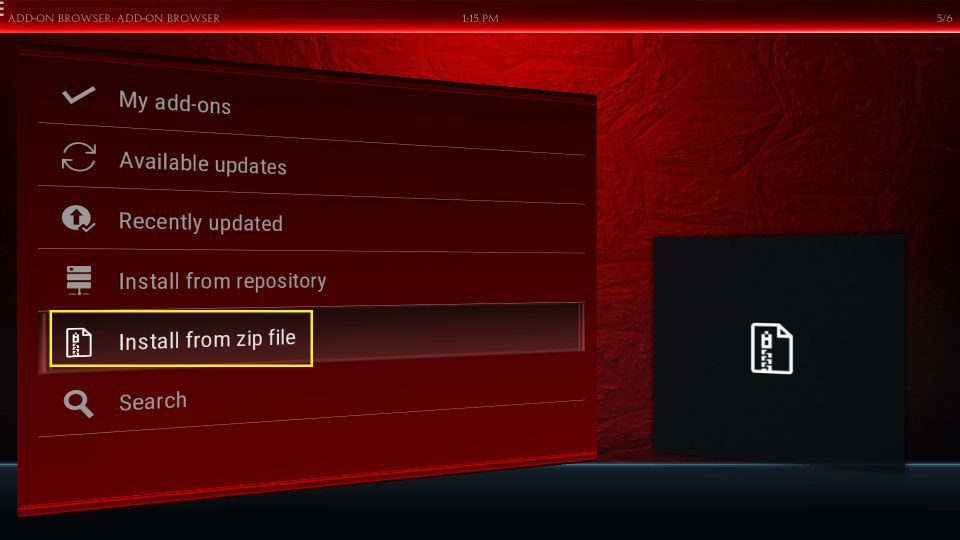
8. Go back to the home screen. Navigate to Apps > Add-on Browser.
9. Click Install from zip file.
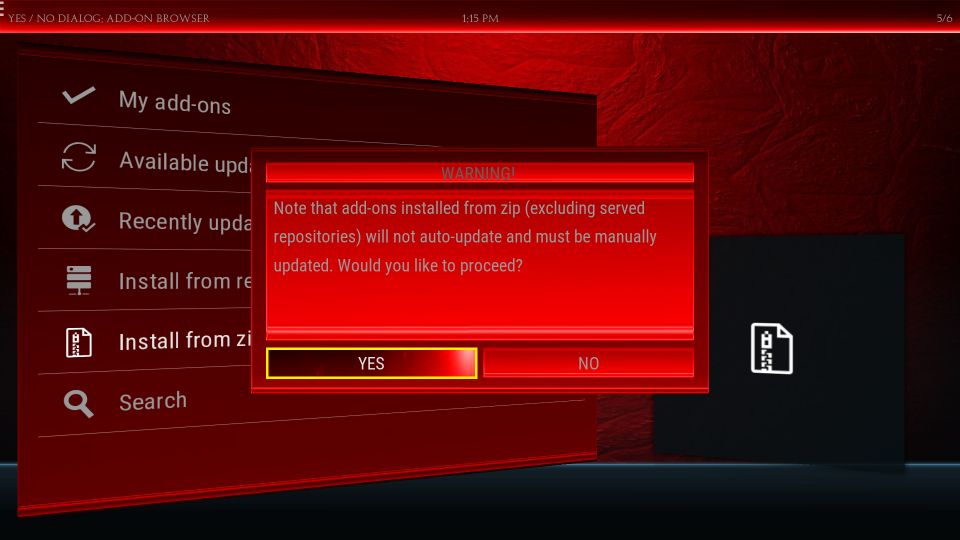
10. Click Yes.
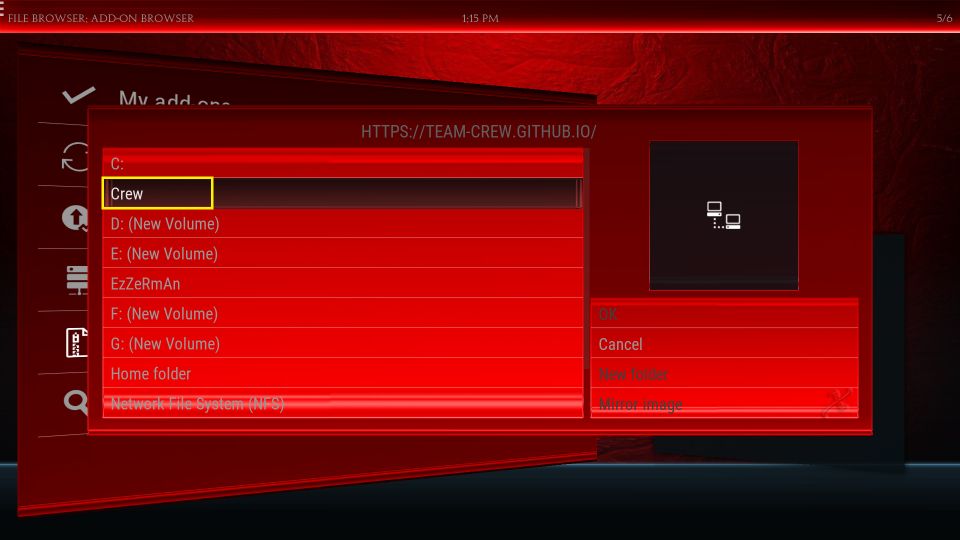
11. Click Crew or the source name you picked.
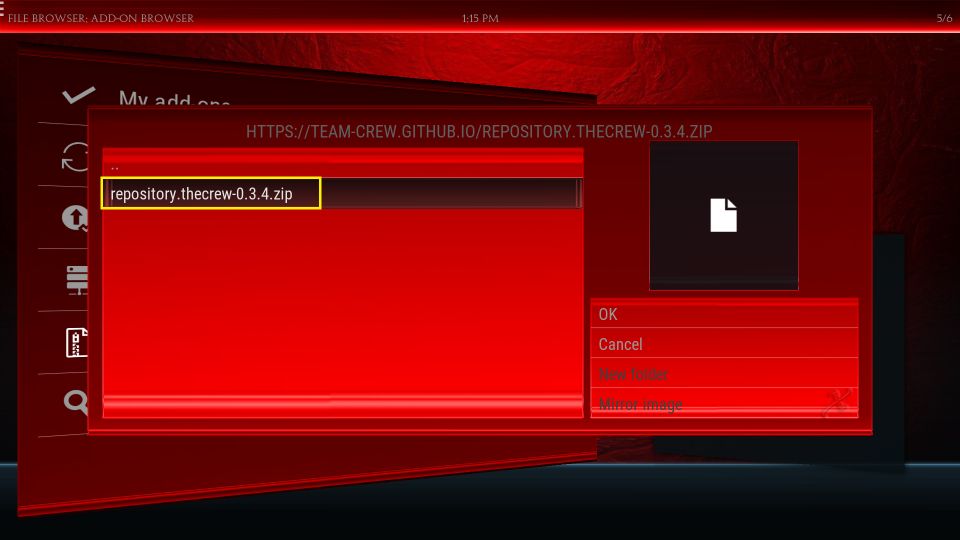
12. Open the file repository.thecrew
13. Wait for the repo installation notification. It appears at the top.
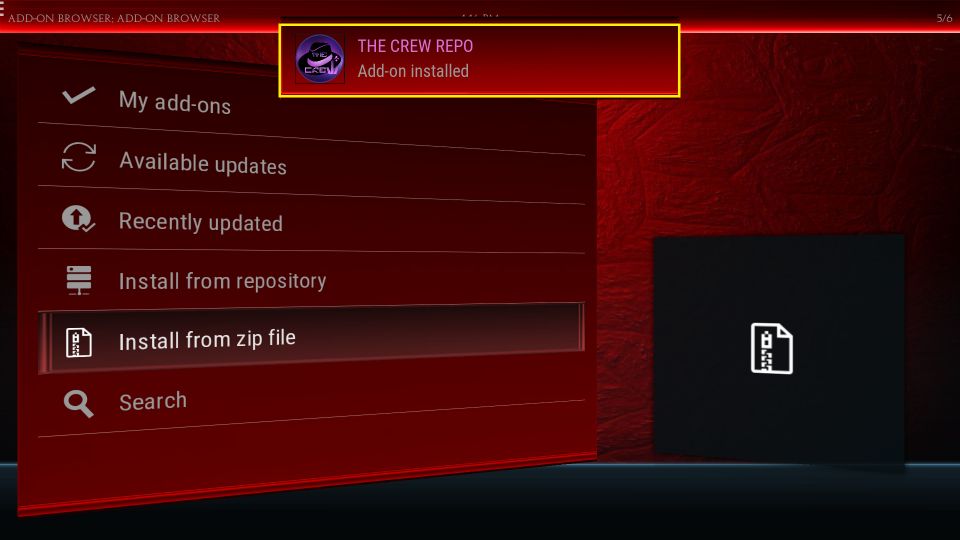
14. Click Install from repository.

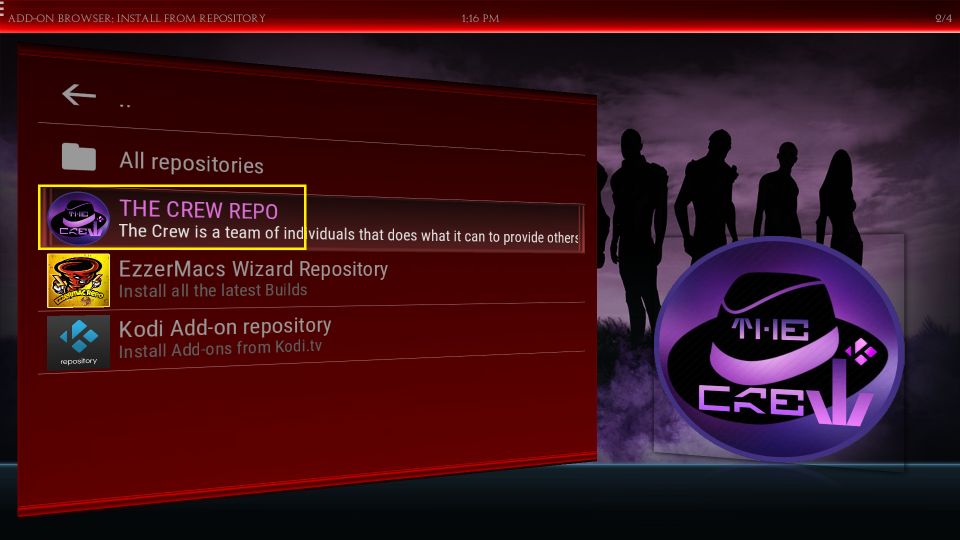
15. Open The Crew Repo.
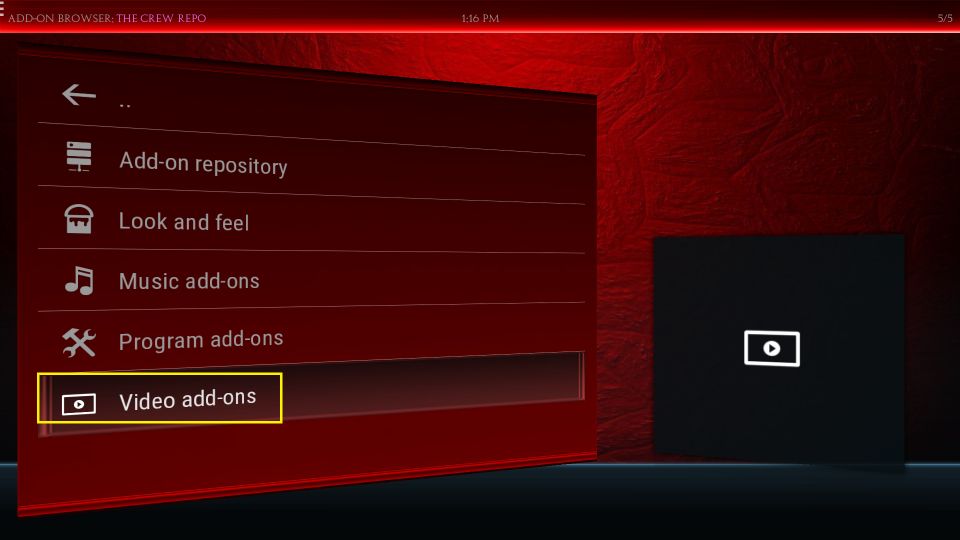
16. Click Video add-ons.
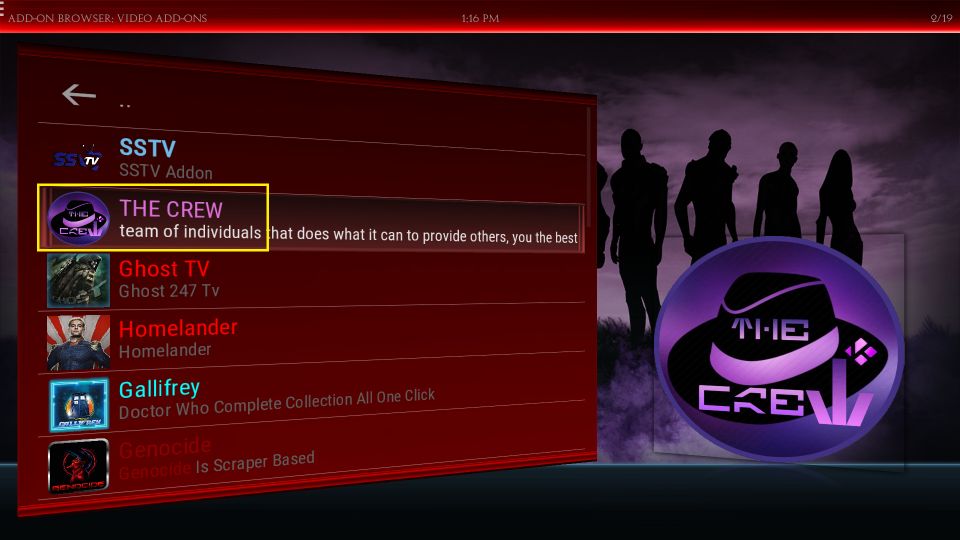
17. Click The Crew.
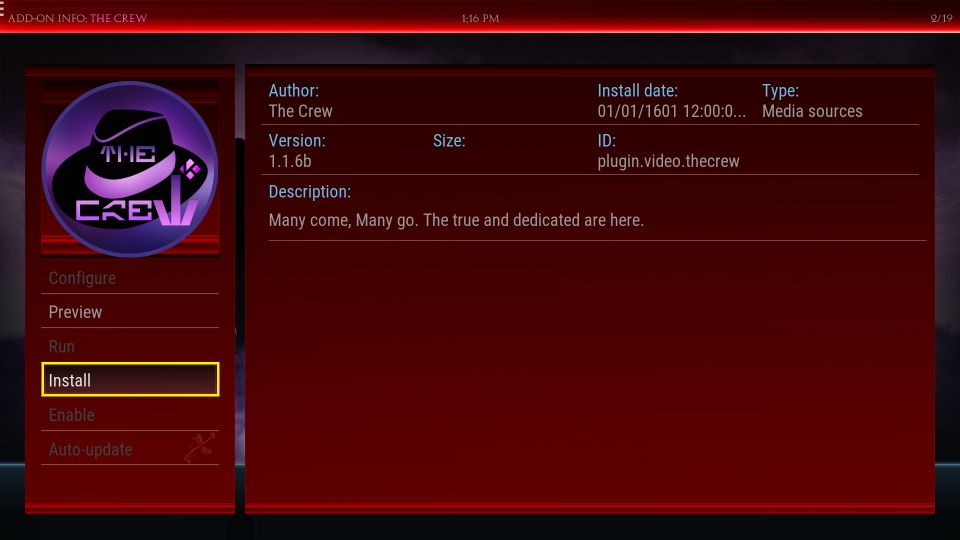
18. Click Install.
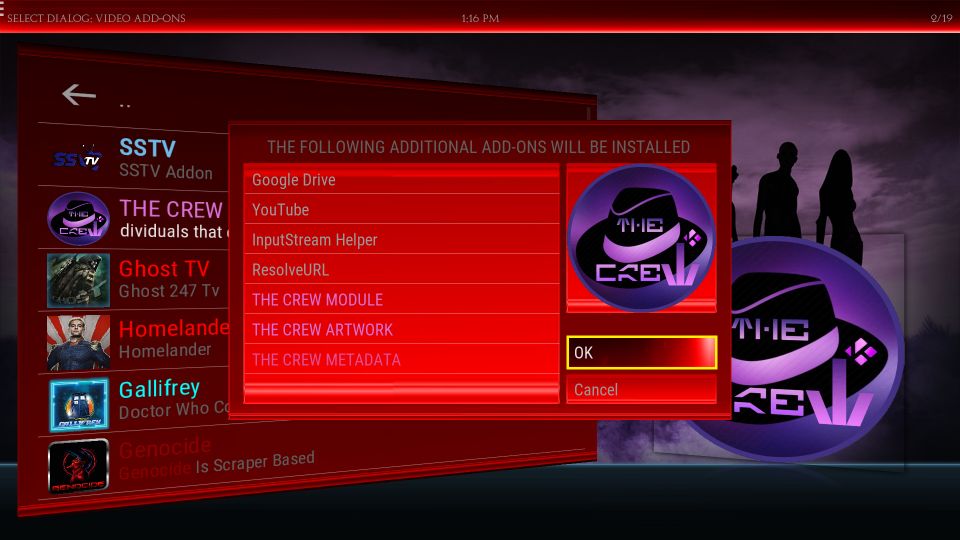
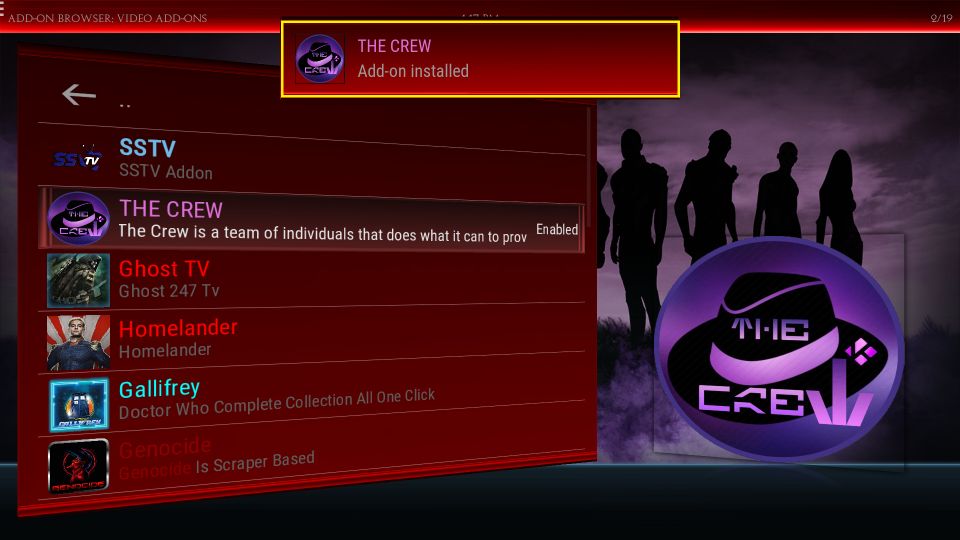
19. Click OK on this prompt.
20. Wait for the Crew addon to install. You can see the notification at the top.
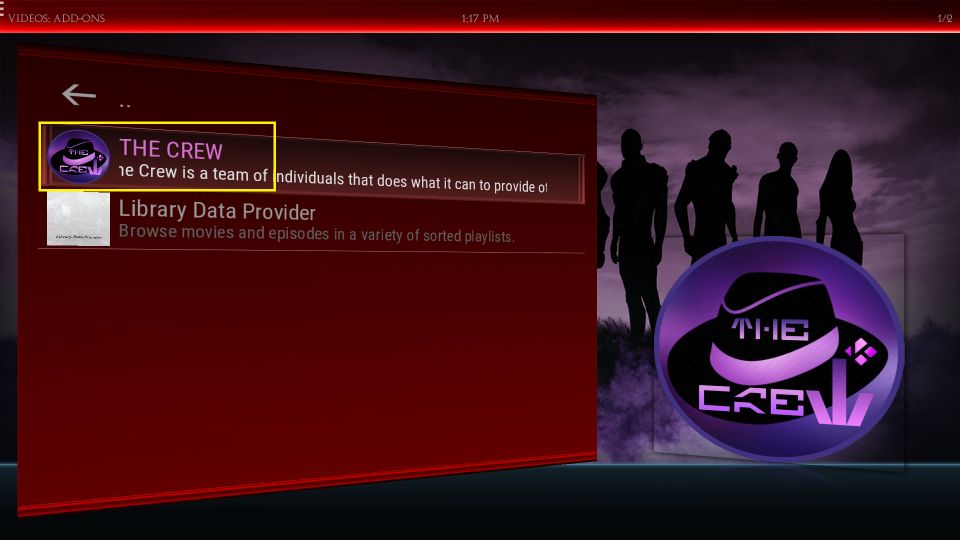
21. Go to the Kodi home screen and open Apps > Video Add-ons.
22. You now see the Crew addon here. Click to open it.
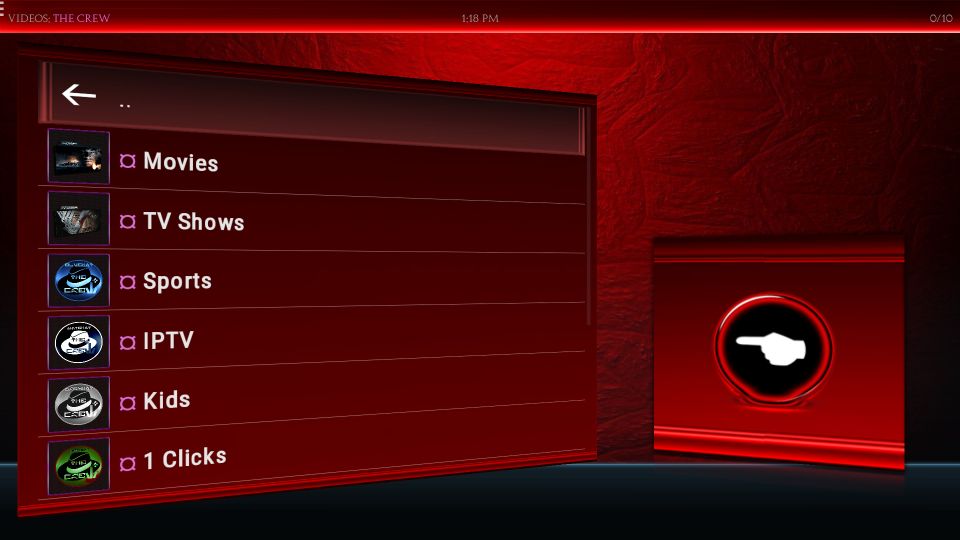
23. This is the main window of the Crew addon with options for Movies, Shows, Sports, and more.
How to Set Up Real Debrid with Temple Build
I recommend using Real Debrid with this build. You will find plenty of new and high-quality video streaming links. To know more about this service, read our detailed guide on Real Debrid.
If you have an RD account, follow these steps to set it up with the Temple Build:
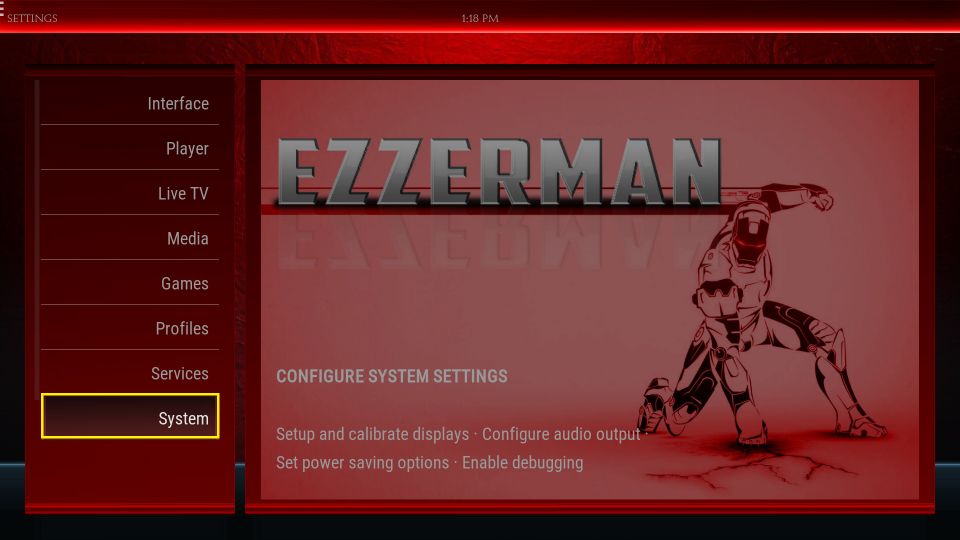
1. Click System in the main menu on the home screen.
2. Click System again on the following screen.
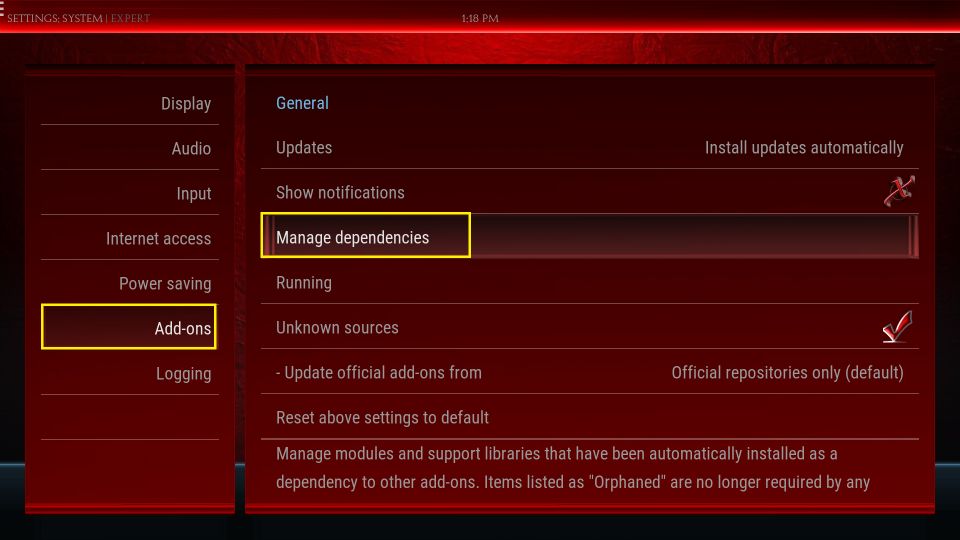
3. Click Add-ons on the left, followed by Manage dependencies on the right.
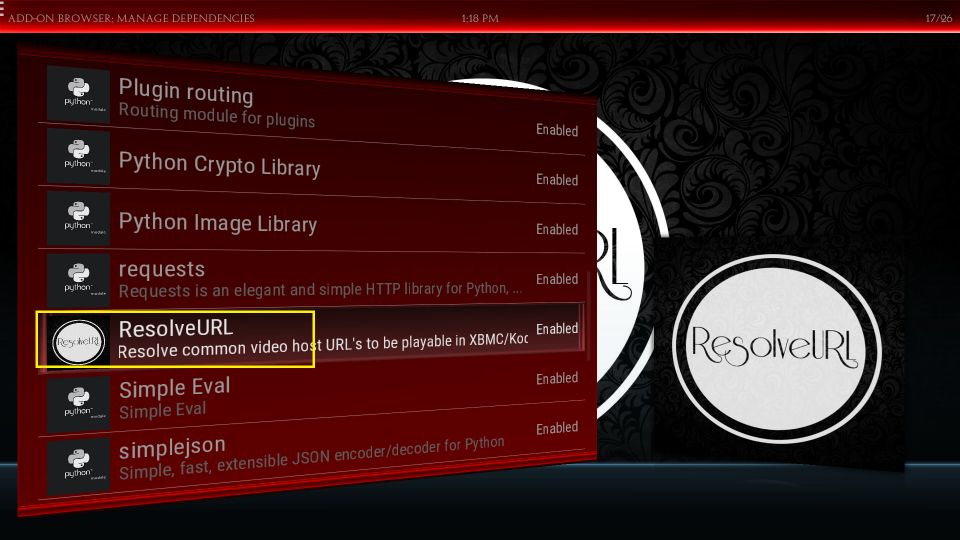
4. Scroll down to the bottom of this list and click ResolveURL.
5. Click Configure on the next window.
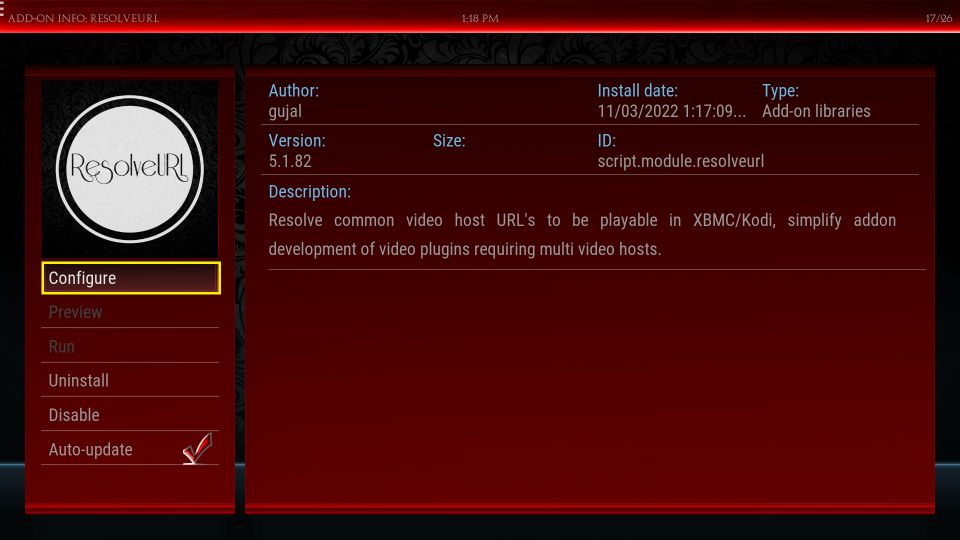
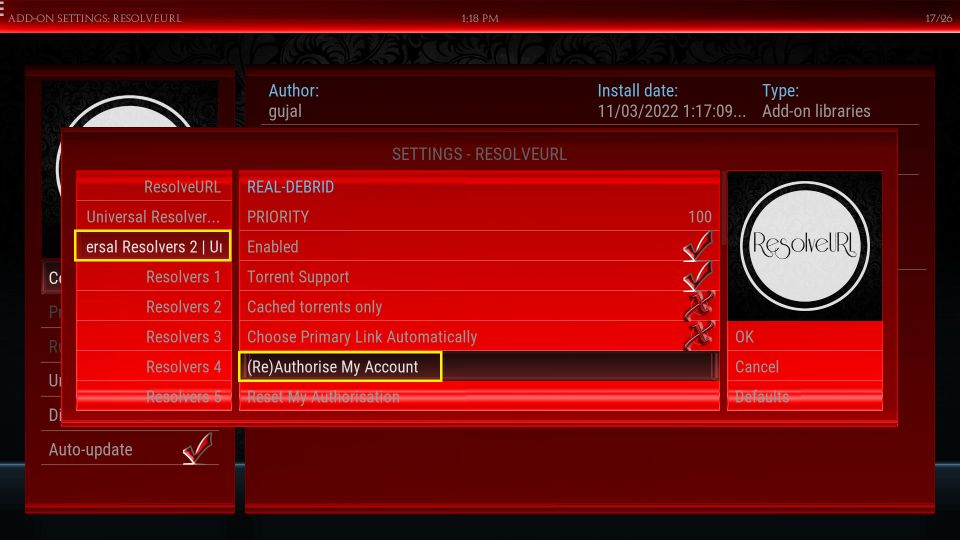
6. Choose Universal Resolvers 2 in the left menu. Jump to the right and choose (Re)Authorize My Account.
7. Your window displays a popup with the code to authorize RD> Go to the website real-debrid.com and enter this code.
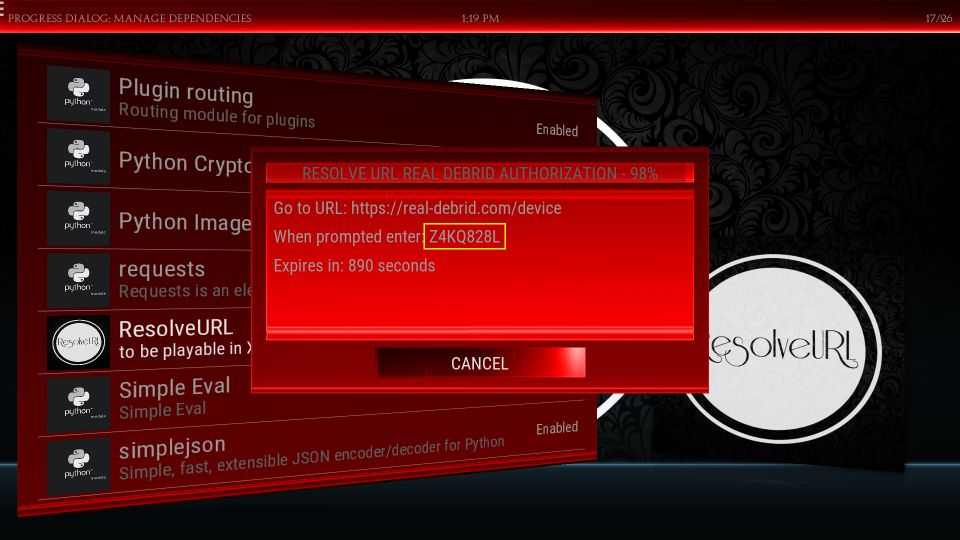
This is how you configure Real Debrid with the Temple build.
Conclusion
This guide showed you how to install Temple Kodi build on any device. Temple is a Kodi skin that changes the interface of Kodi. However, it does not come with any addons. You must install addons separately. How do you like this skin? Let us know in the comments box below.
Related:
Leave a Reply